Documentation Index
Fetch the complete documentation index at: https://docs.heymilo.ai/llms.txt
Use this file to discover all available pages before exploring further.
Sender Domains
Path: Sidebar → Outreach → Sender DomainsWhy this matters
- Trust — Candidates recognize your domain in the inbox.
- Deliverability — Authenticated sending reduces spam-folder risk.
- Prerequisite — You need a verified domain before you can add sender addresses used with Email Templates and other sends.
Requirements
- DNS access — Someone who can create records at your DNS host (IT / whoever runs the domain).
- Admin access in HeyMilo to add and verify domains and senders.
- Domain verified first — You can’t create sender addresses on a domain until verification succeeds.
Setup
1) Add your email domain
- Open Outreach → Sender Domains.
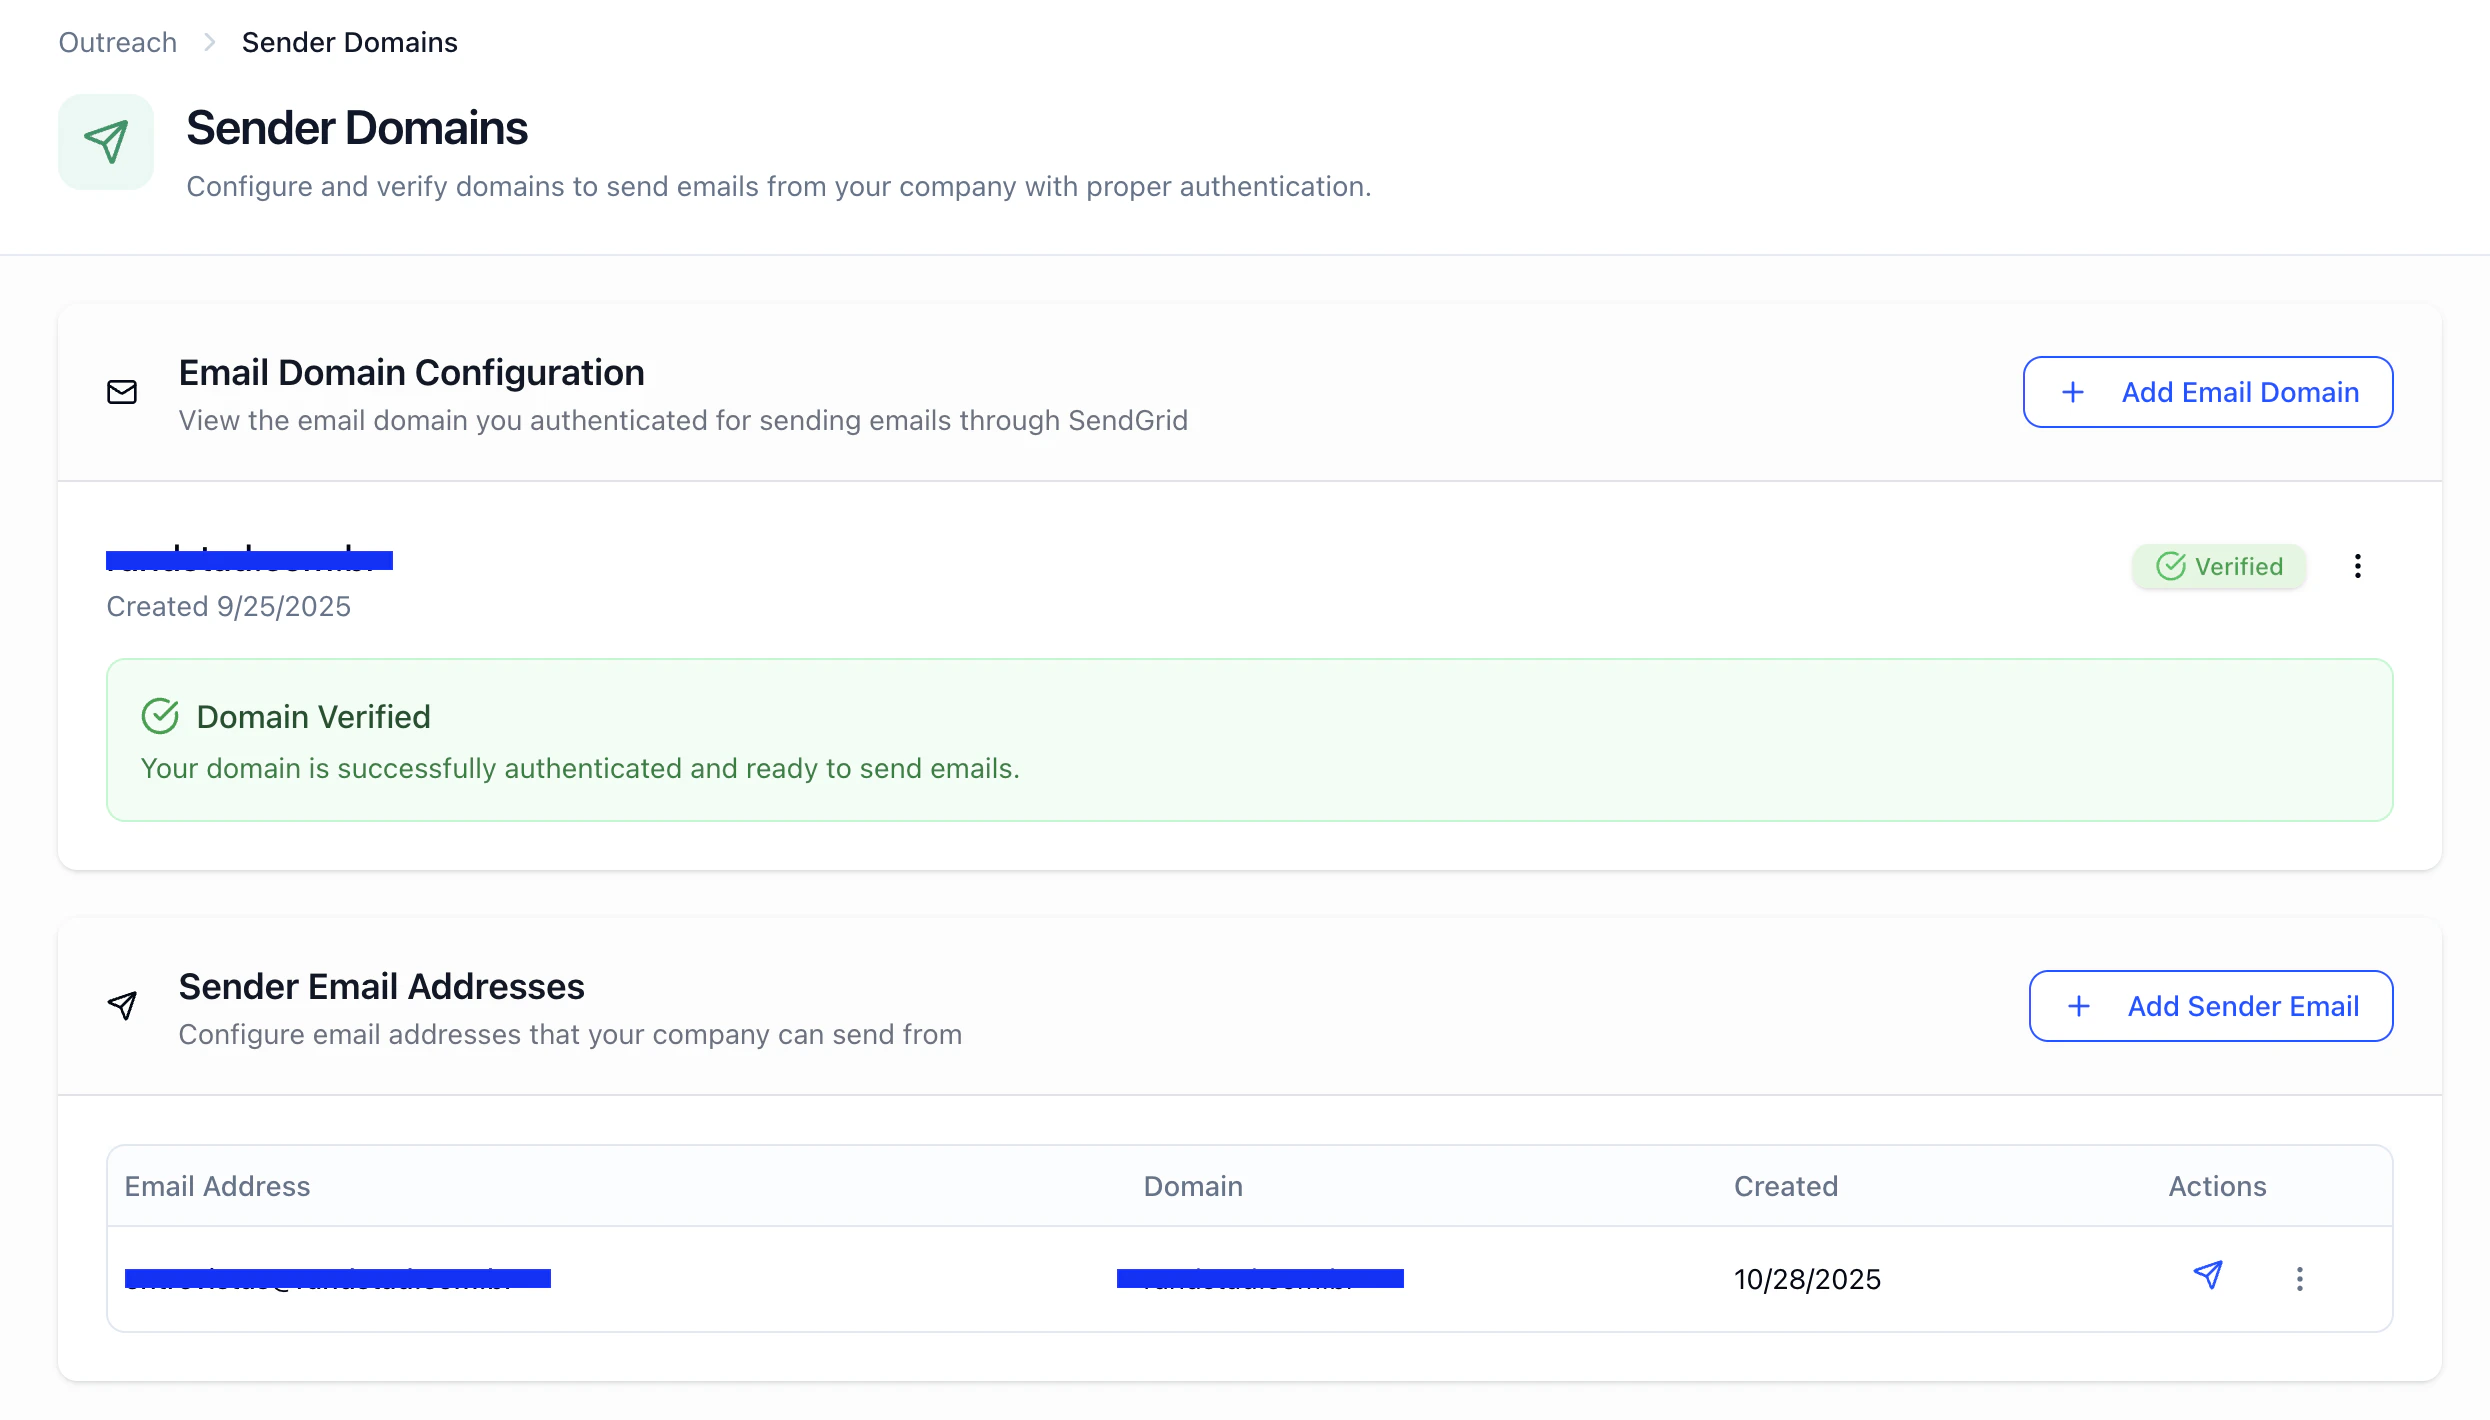
- If nothing is set up yet, you’ll see a state like No Email Domain Configured — use Add Email Domain.
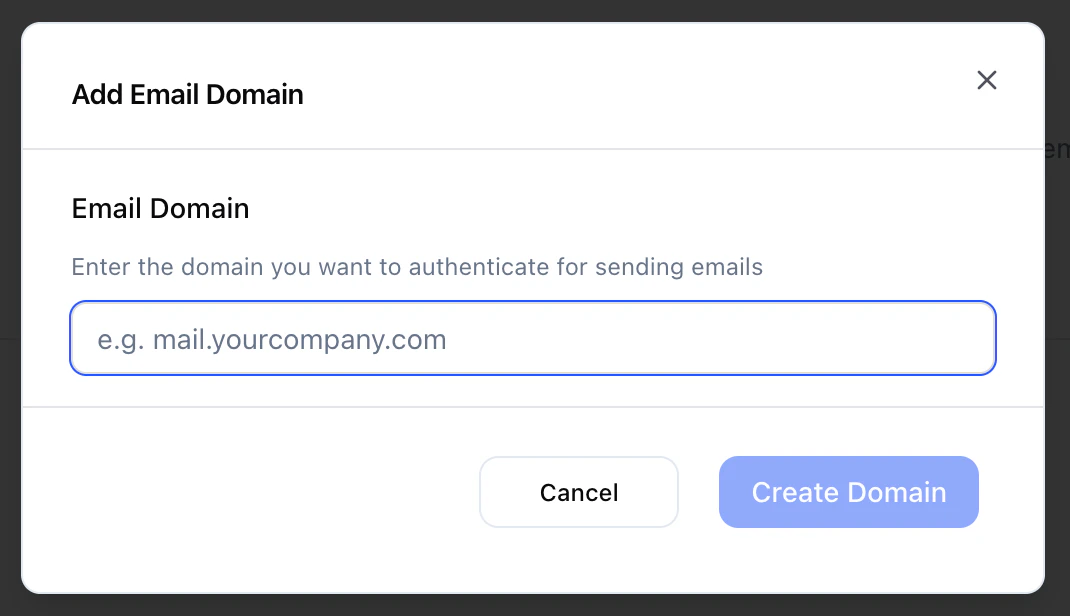
- Enter the domain only (e.g.
yourcompany.com— nohttps://, no path).
2) Add the DNS records HeyMilo shows
- The app lists the exact DNS records (names, types, values).
- Create them exactly as shown at your DNS provider (Cloudflare, GoDaddy, Route 53, etc.).
- Copy/paste carefully — a typo or wrong host/name is the #1 reason verification fails.
Tip: Send your IT team a screenshot or export of the records from HeyMilo. This is standard “authenticate our email vendor” work.
3) Verify the domain
- After DNS is saved, click Verify in HeyMilo.
- Propagation is often ~30 minutes but can take several hours (sometimes longer depending on TTL and provider).
- If it fails, wait and retry — don’t assume it’s broken on the first try.
4) Create sender email addresses
After the domain is verified:- Find Sender Email Addresses (or equivalent).
- Add Sender Email.
- Choose the verified domain.
- Enter the local part (prefix), e.g.
interviews→interviews@yourcompany.com. - Save.
5) Optional: test send

Under the hood
HeyMilo uses SendGrid for domain authentication and sending. Verification checks your DNS for the required records the app displays (including DKIM and related mail CNAME records). When those validate, the domain is marked verified and you may send from addresses on that domain.Troubleshooting
| Issue | What to do |
|---|---|
| Verify never passes | Re-check each record character-for-character; confirm you added them at the correct DNS zone (apex vs subdomain). |
| “It worked yesterday” | DNS or hosting changes may have removed records — audit DNS again. |
| Still hitting spam | Confirm the sender you’re using is on a verified domain; avoid spammy subjects/bodies; ramp volume sensibly for a new domain. |
| Stuck | Contact support@heymilo.ai with your domain and (if safe) a screenshot of your DNS panel blurring secrets if needed. |
Next steps
- Email Templates — Attach templates and groups; sends use your verified senders.
- Outreach — Phone numbers, custom domains, branding, contact blasts.
- Contact Blasts — Bulk outreach from a posting (where applicable).