Documentation Index
Fetch the complete documentation index at: https://docs.heymilo.ai/llms.txt
Use this file to discover all available pages before exploring further.
Resource Labels
Think of them as structured fields you define once, then apply for filtering and organization as your account grows. Different from Interview Tags — Those are set on the voice/video Tags tab so the AI extracts answers into the candidate report. Resource Labels are workspace labels you define in Data and apply for organization and filtering.Why use labels
When you have many postings and candidates, labels keep everything organized:- Filter by department — Tag postings or candidates by department (Engineering, Sales, Support)
- Track hiring stage — Capture where someone is in your process
- Organize by location — Office, region, or remote vs on-site
- Custom categories — Any dimension your team agrees on (priority, business unit, etc.)
Creating a label definition
- Go to Data → Resource Labels in the sidebar
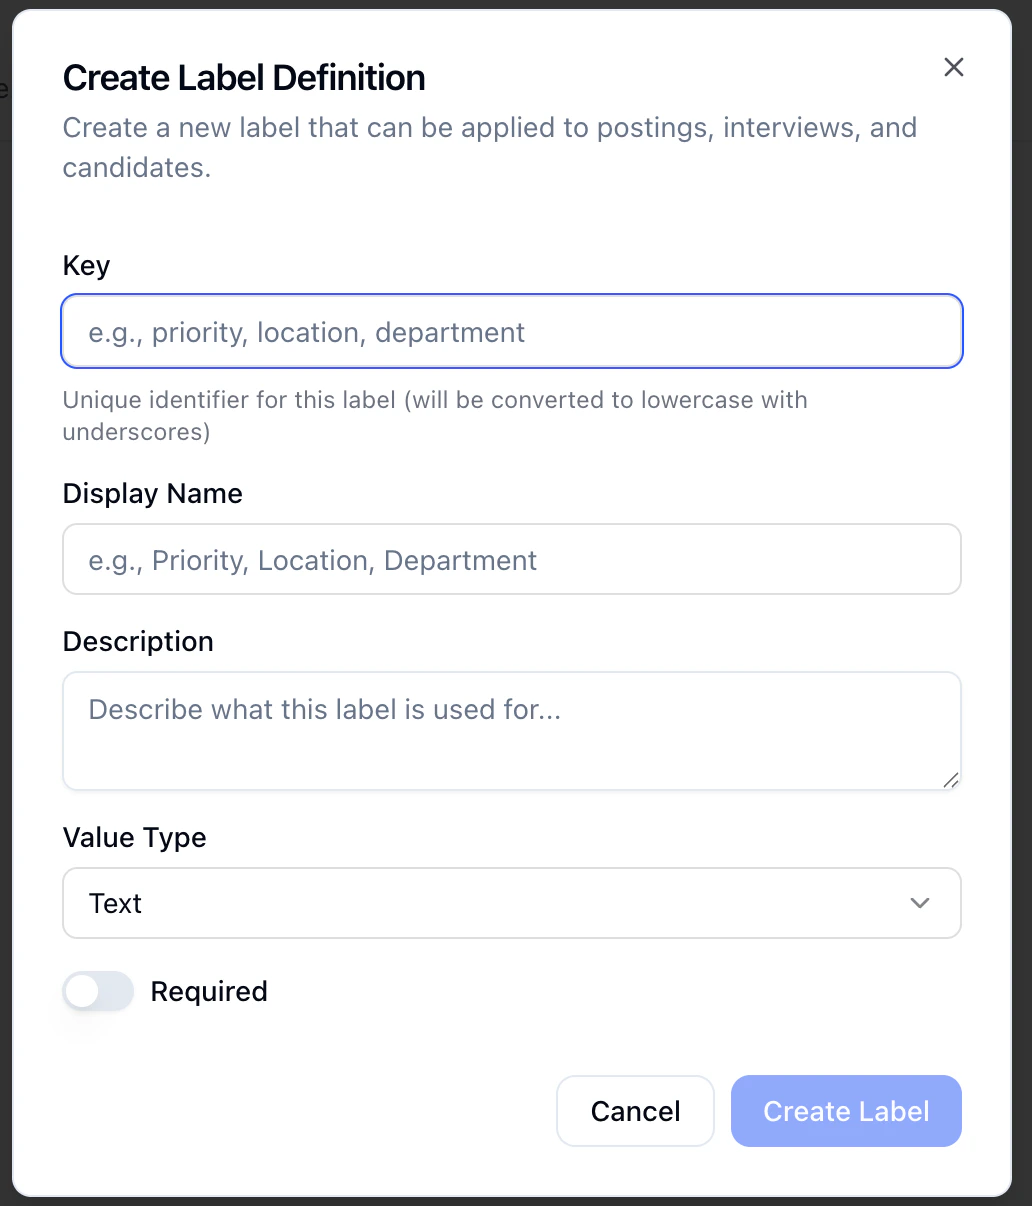
- Open Create Label Definition
| Field | What to enter |
|---|---|
| Key | Unique id (examples: priority, location, department). Stored lowercase with underscores (e.g. hiring_region). |
| Display Name | What people see in the UI (examples: Priority, Location, Department). |
| Description | What this label is for and when to use it. |
| Value type | e.g. Text, Number, Picklist, Yes/No |
| Required | On = must be filled when it applies; off = optional. |
Tips: Keep keys stable; use Display Name for wording changes. Prefer a small set of labels so the team actually uses them.
Next steps
- Interview Tags — AI-extracted tags on voice/video reports
- Data Indexing — How data is indexed and searchable
- Your Dashboard — Filtering and overview