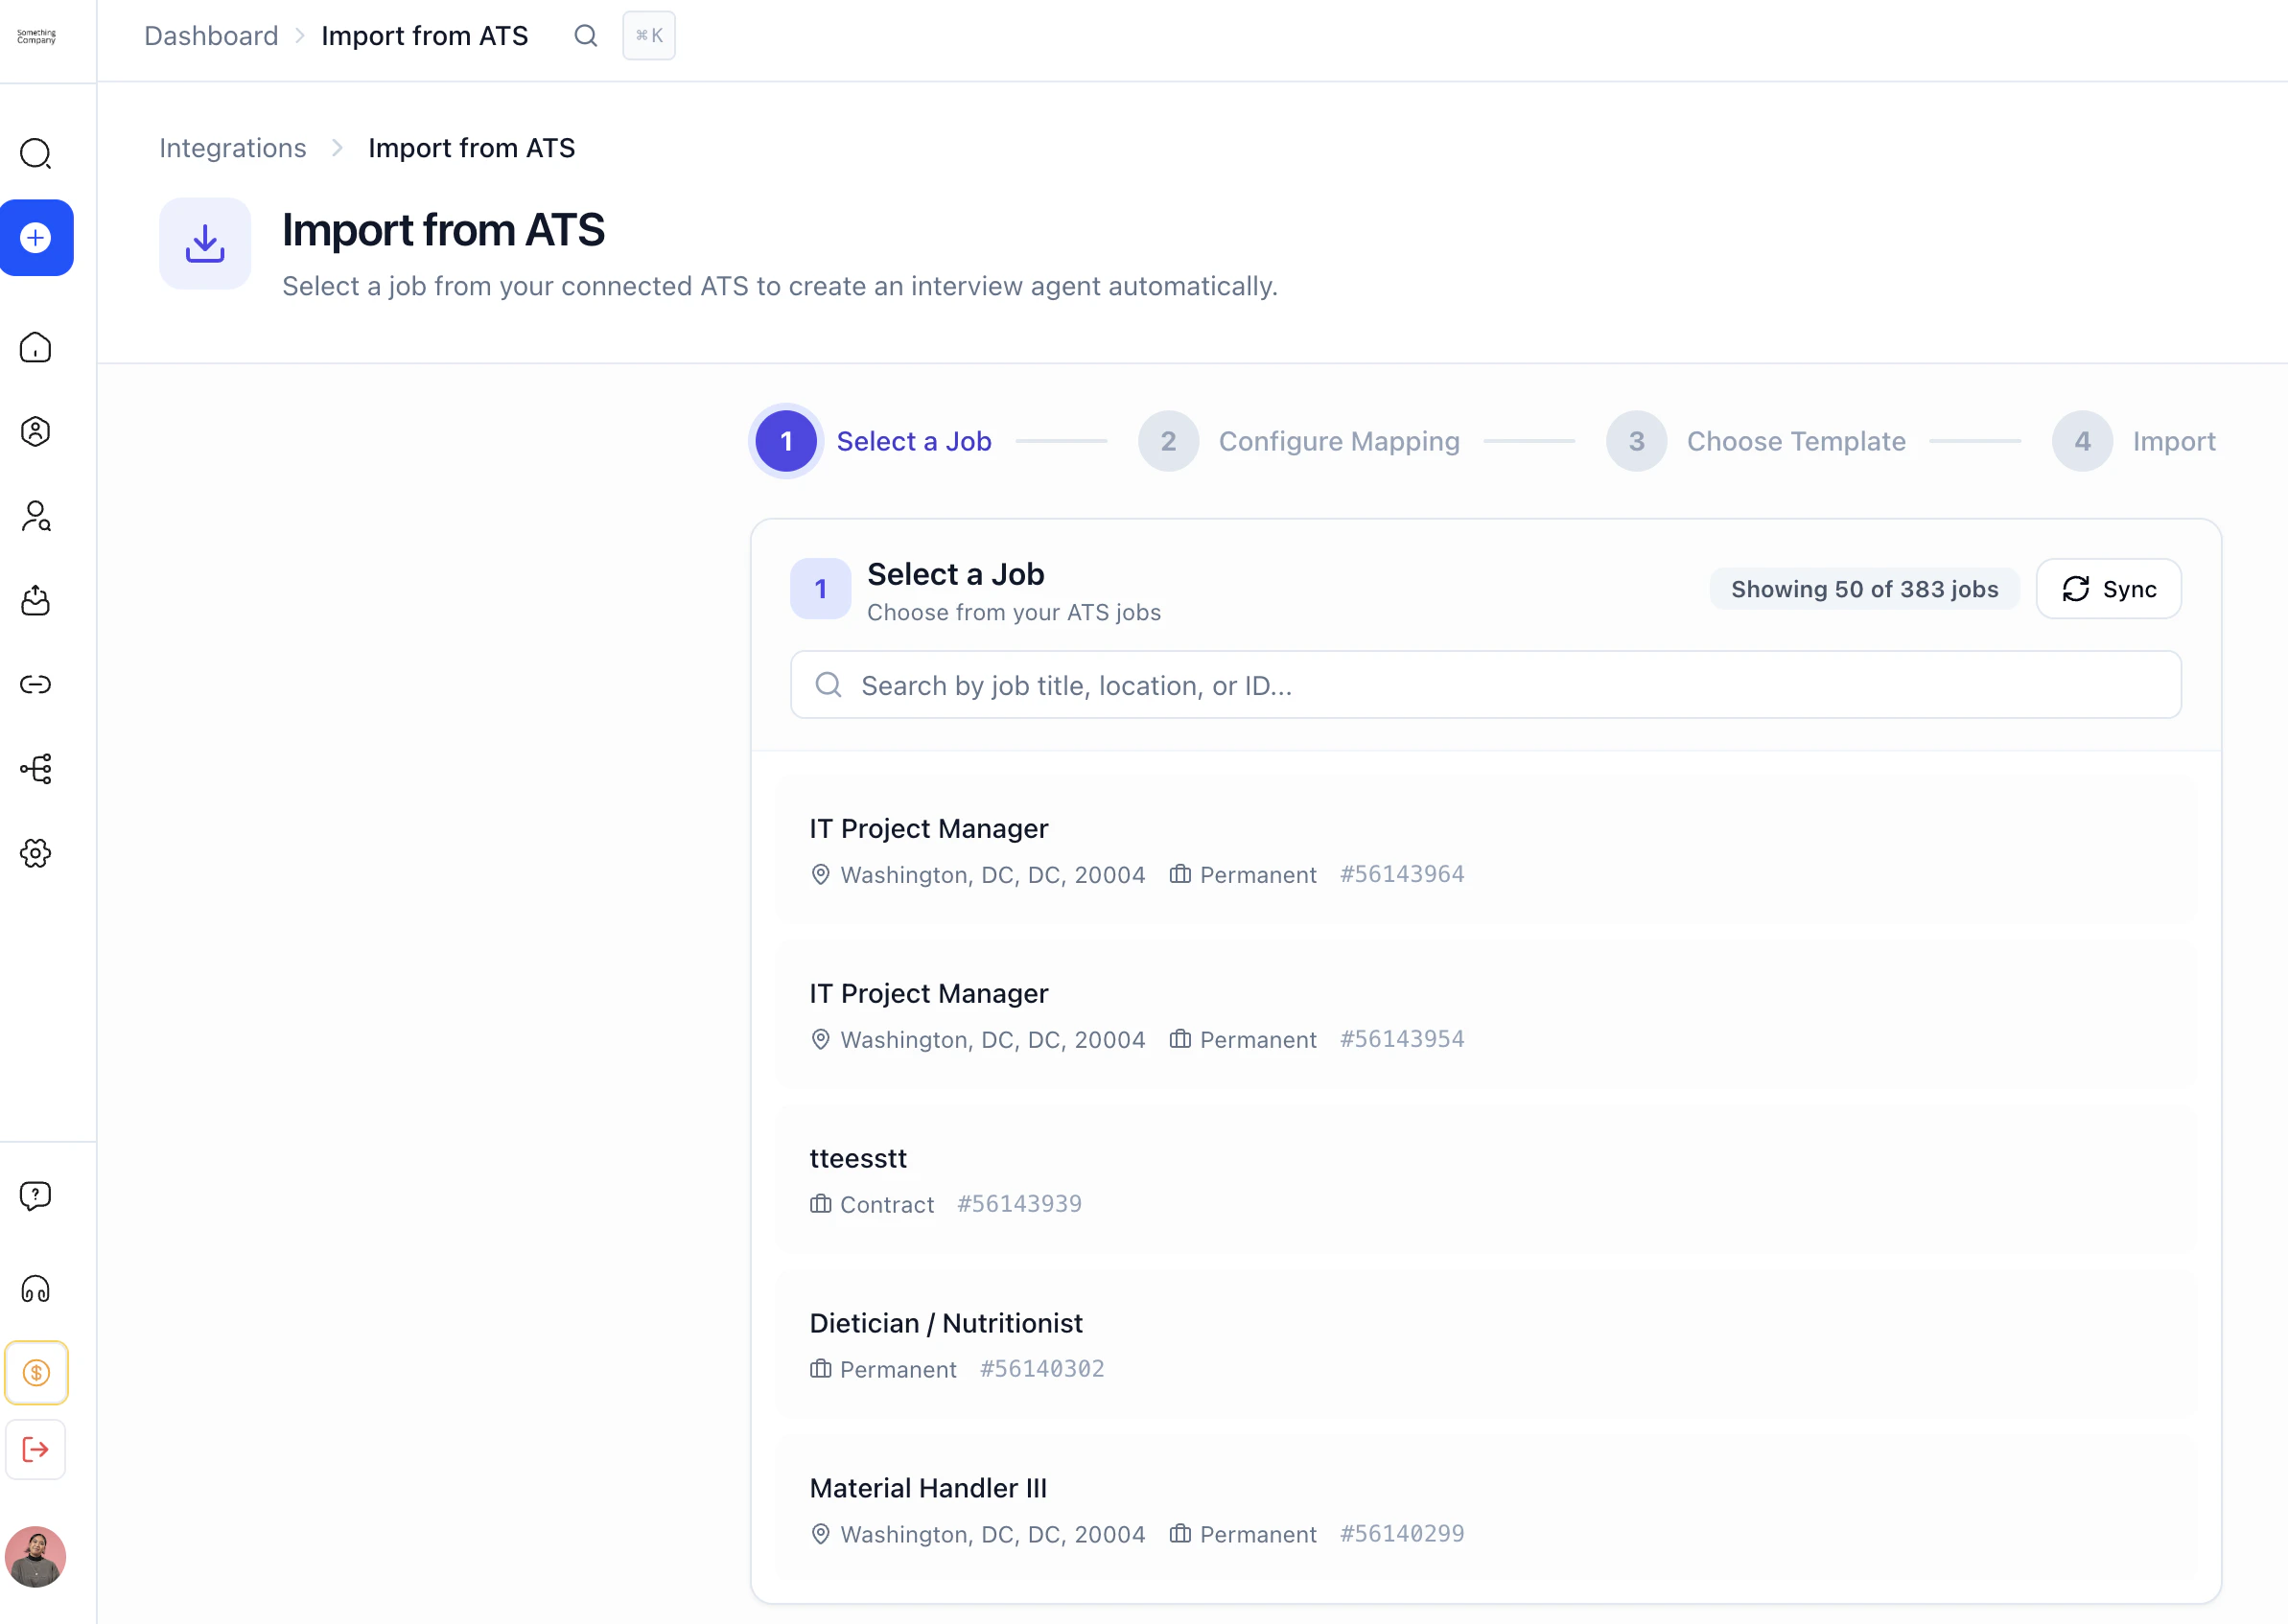
Agents Supported in Bullhorn
💡HeyMilo supports SMS screening across all ATS platforms—as long as a valid phone number (with country code) is provided. Since most ATSs don’t collect phone numbers by default, be sure to make the mobile number a required field in your job post.Alternatively, you can enable both resume and SMS screening on your HeyMilo job, ensuring candidates are screened even if their phone number or resume isn’t accessible via your ATS.
Why Use HeyMilo + Bullhorn?
⭐️ Seamless Candidate Sync Automatically sync candidates from Bullhorn into HeyMilo, eliminating manual effort. ⭐️ AI Insights Where You Work Interview summaries, transcripts, and recordings are written directly to Bullhorn—so recruiters and hiring managers can review feedback right inside the platform. ⭐️ Job-Specific Interview Agent Mapping Map HeyMilo agents to specific Bullhorn job postings to ensure accurate and personalized assessments.Setting Up the Integration
Watch this video, and follow the steps below to learn how to connect HeyMilo in Bullhorn:🛠 What You’ll Need to Get Started
Before connecting Bullhorn with HeyMilo, you’ll need:- ✅ Admin access to your HeyMilo workspace
- ✅ Bullhorn Client ID and Client Secret (requested from Bullhorn Support)
- ✅ Bullhorn API Username
- ✅ Redirect URI registered with Bullhorn Support:
https://api.sifaka.heymilo.ai/api/ext/ats/auth/bullhorn/callback
How to get your Bullhorn API credentialsBullhorn API credentials are not self-service — you need to contact Bullhorn Support to request them. Send a support ticket via the Bullhorn Resource Center with the following:
Hi Bullhorn Support, We are integrating with HeyMilo and need API access for our Bullhorn instance. Could you please:Bullhorn Support typically responds within 1–3 business days. Once you receive your Client ID, Client Secret, and API Username, you can proceed with the setup below.Please ensure Terms of Service is disabled for this API user. Thank you.
- Create an API user for our HeyMilo integration
- Provide the Client ID and Client Secret
- Register the following redirect URI on the API key:
https://api.sifaka.heymilo.ai/api/ext/ats/auth/bullhorn/callback
Setting Up the Candidate Widget
Add the HeyMilo widget to your Bullhorn candidate profiles so your team can view interview results without leaving Bullhorn.- In Bullhorn, go to Menu → Admin → View Layout and select Candidate as the entity.
- In HeyMilo, go to Integrations → Bullhorn → Manage, scroll to the Candidate Widget URL, and copy it.
- Back in Bullhorn, paste the URL into a Custom Tab in the Candidate layout.
Connect HeyMilo to Bullhorn
1
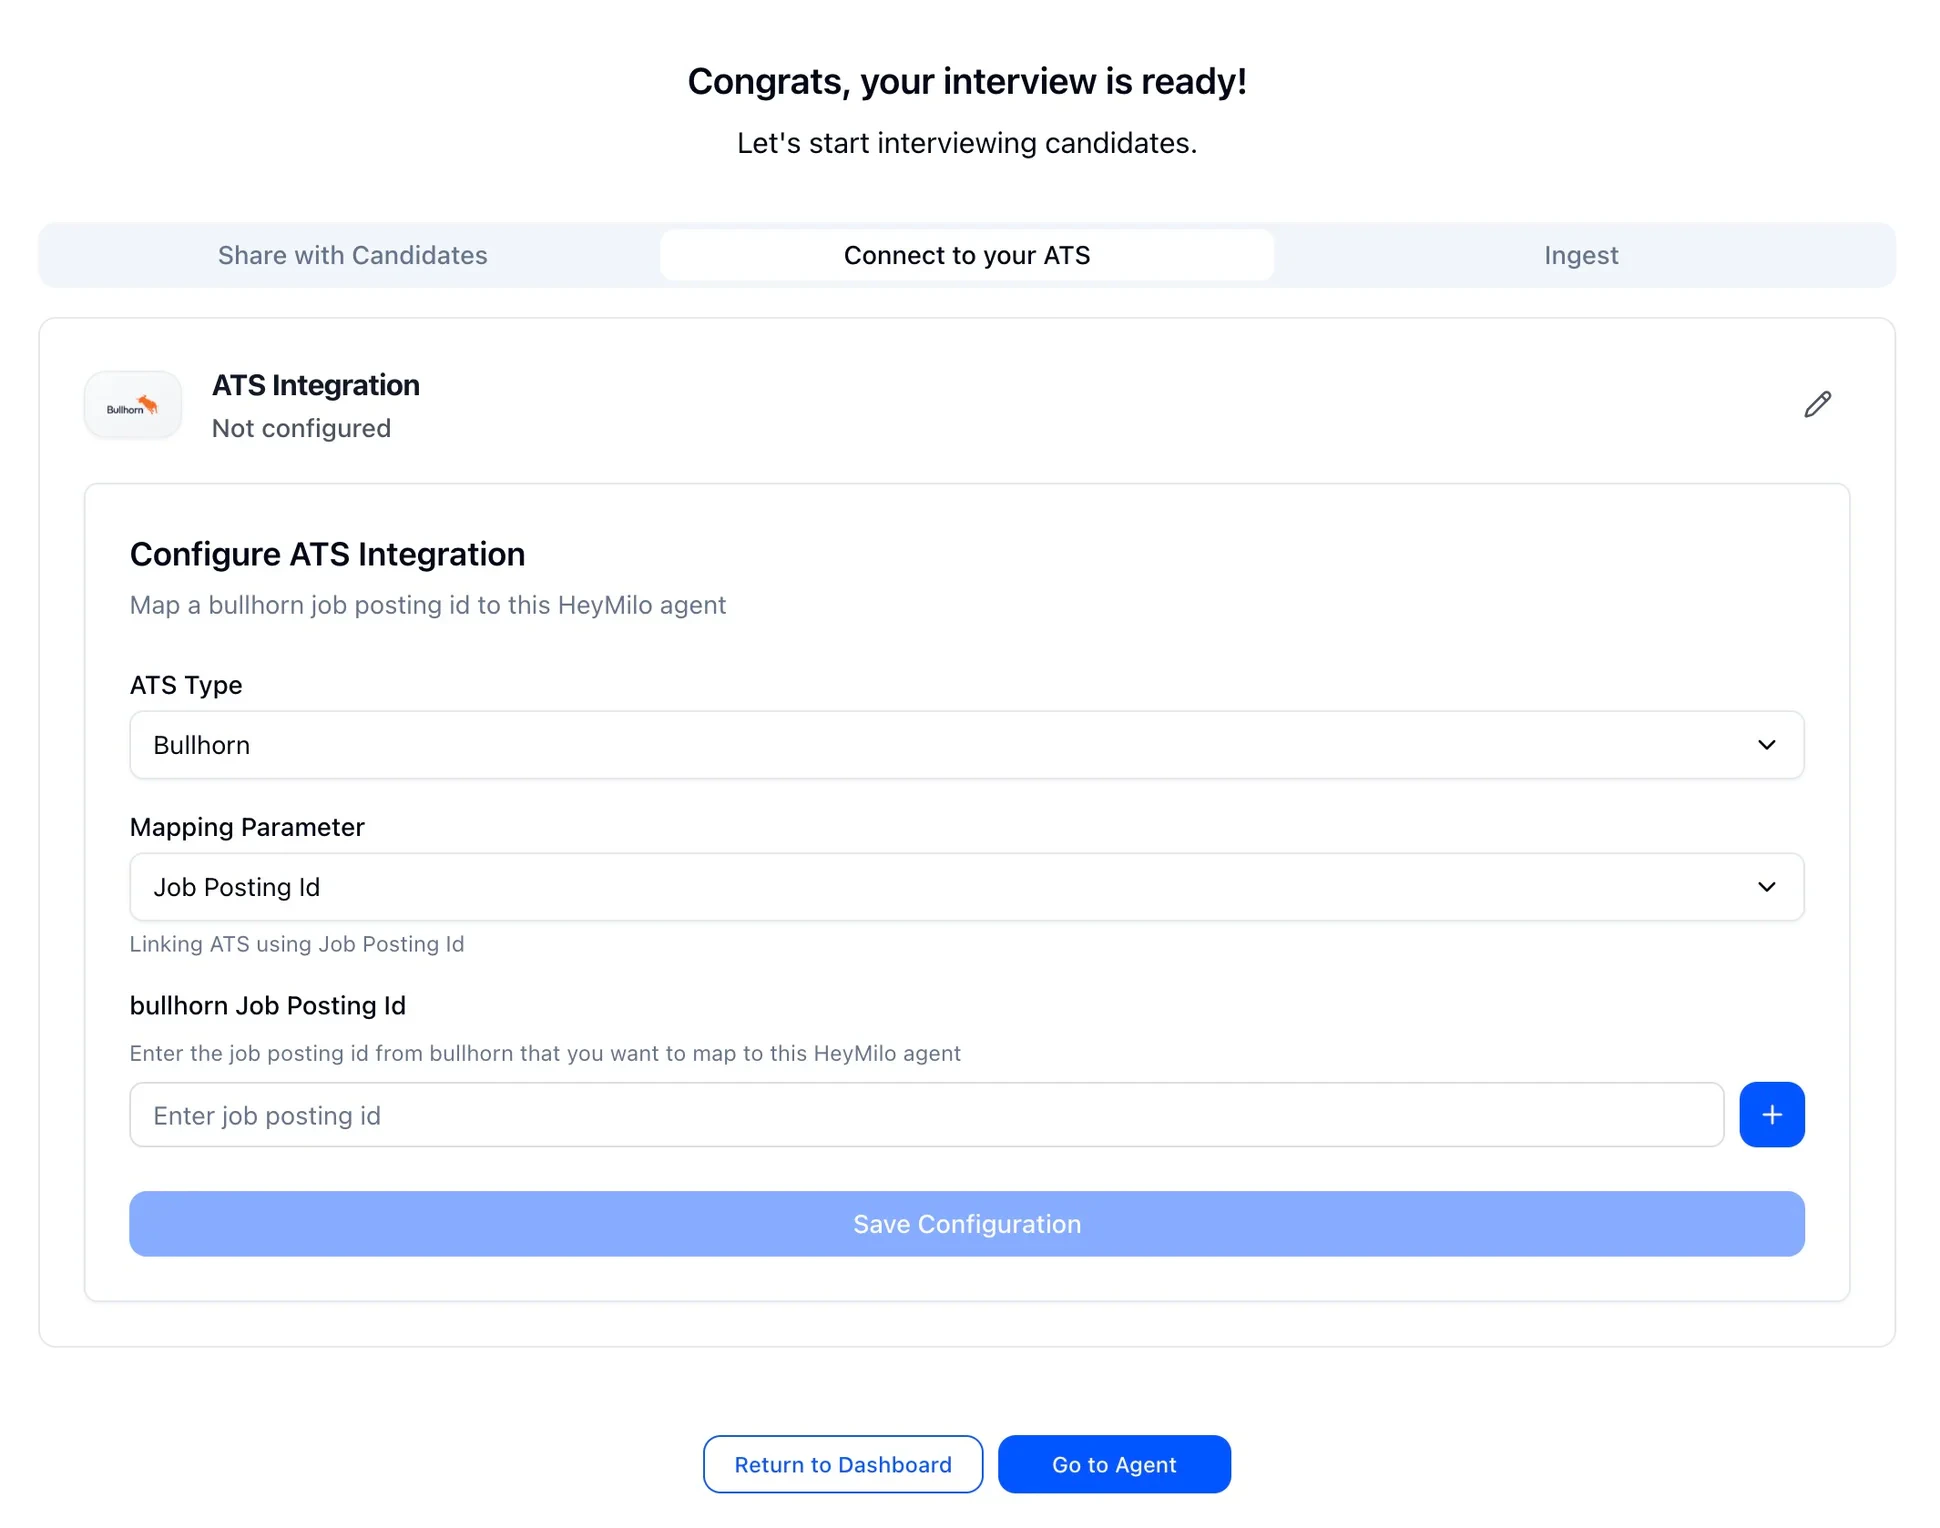
Connect through the Connect to your ATS tab after creating an agent
2
Or go to Integrations on the side panel and under the Bullhorn section
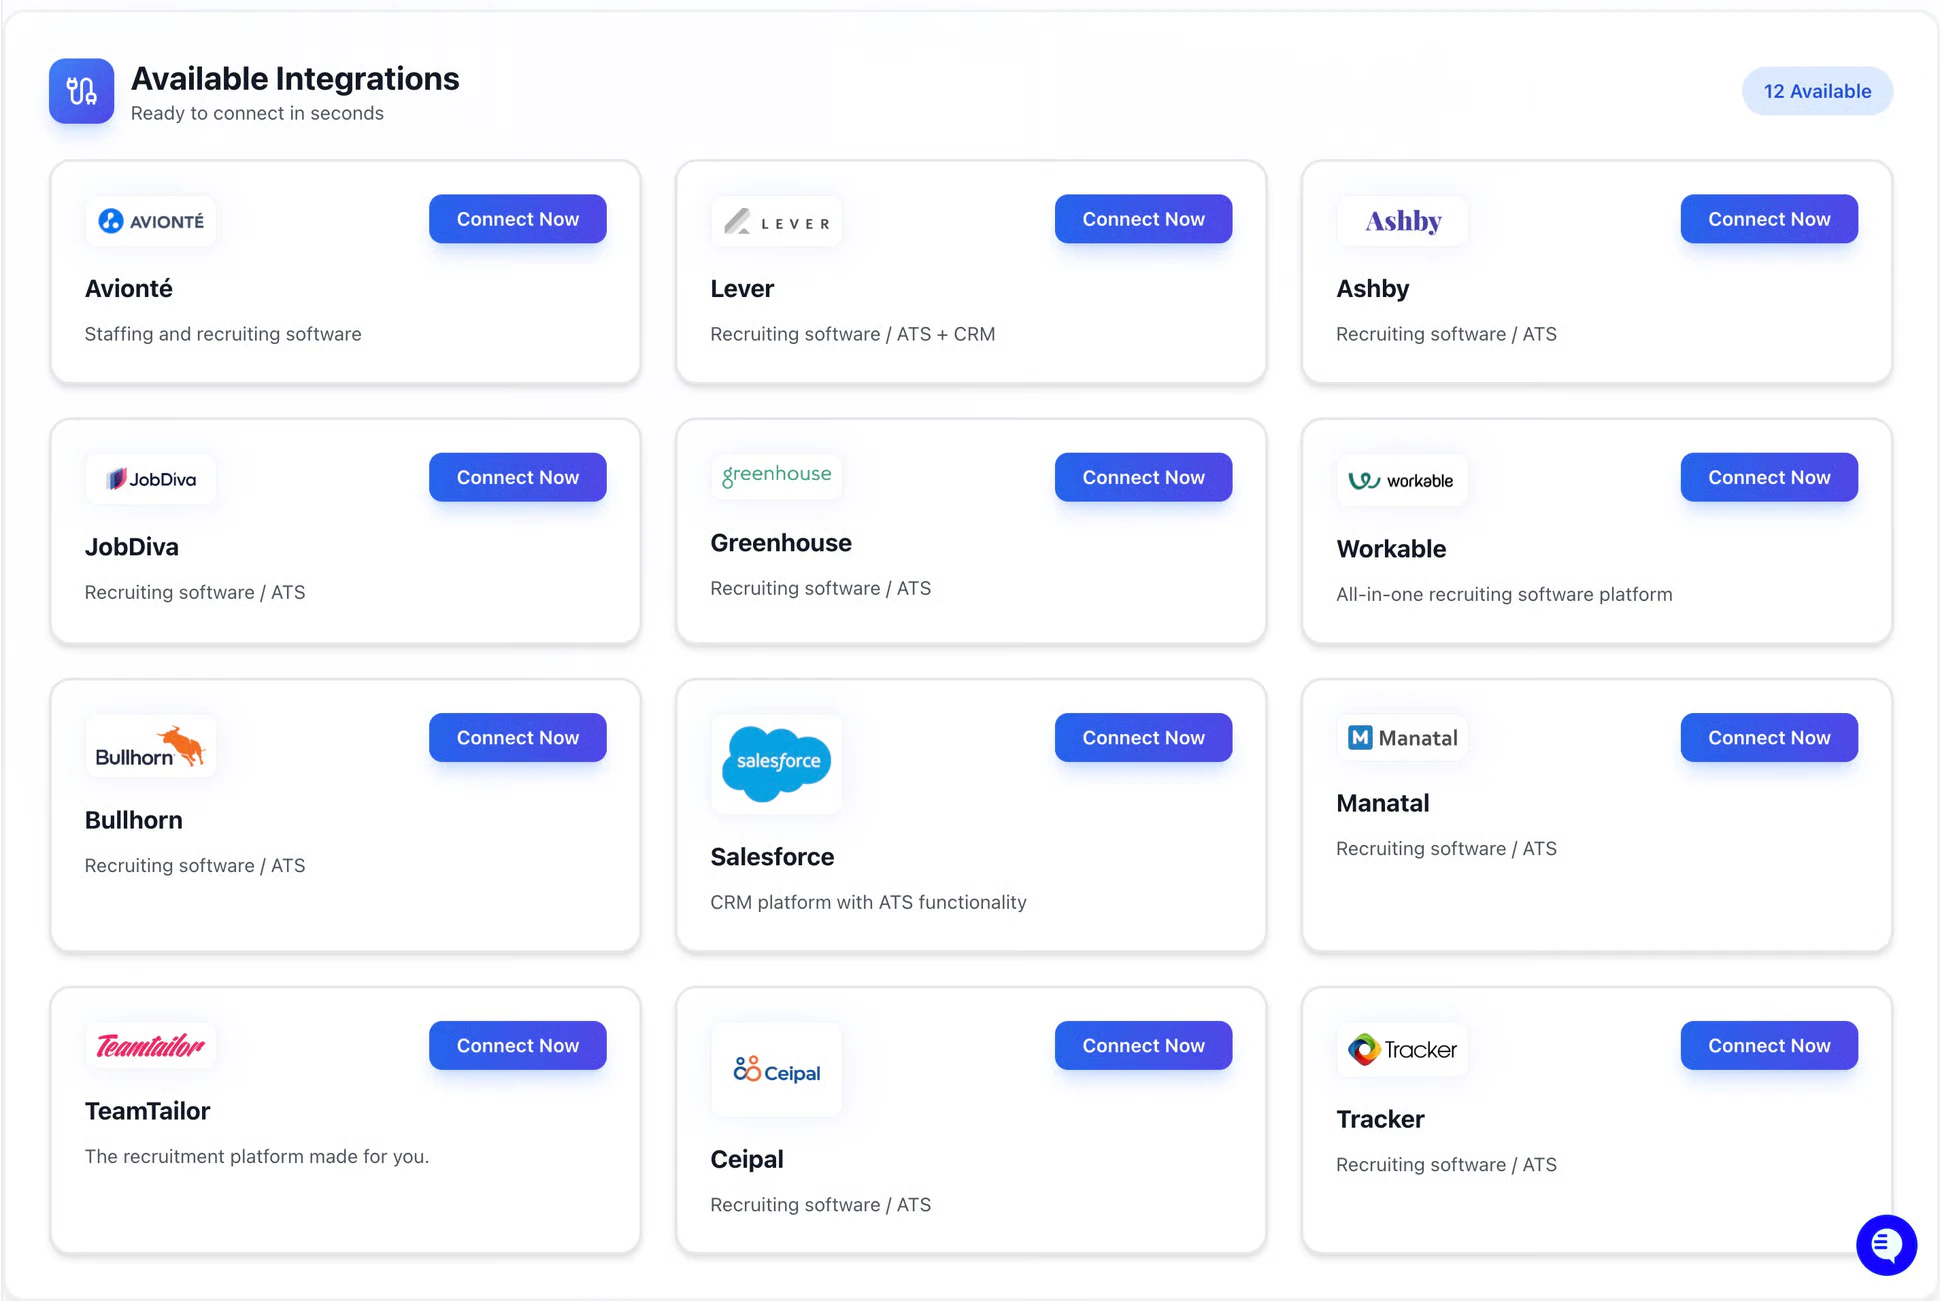
3
Enter Your Bullhorn API Credentials and Set a Polling Interval
Enter only the following (received from Bullhorn Support):
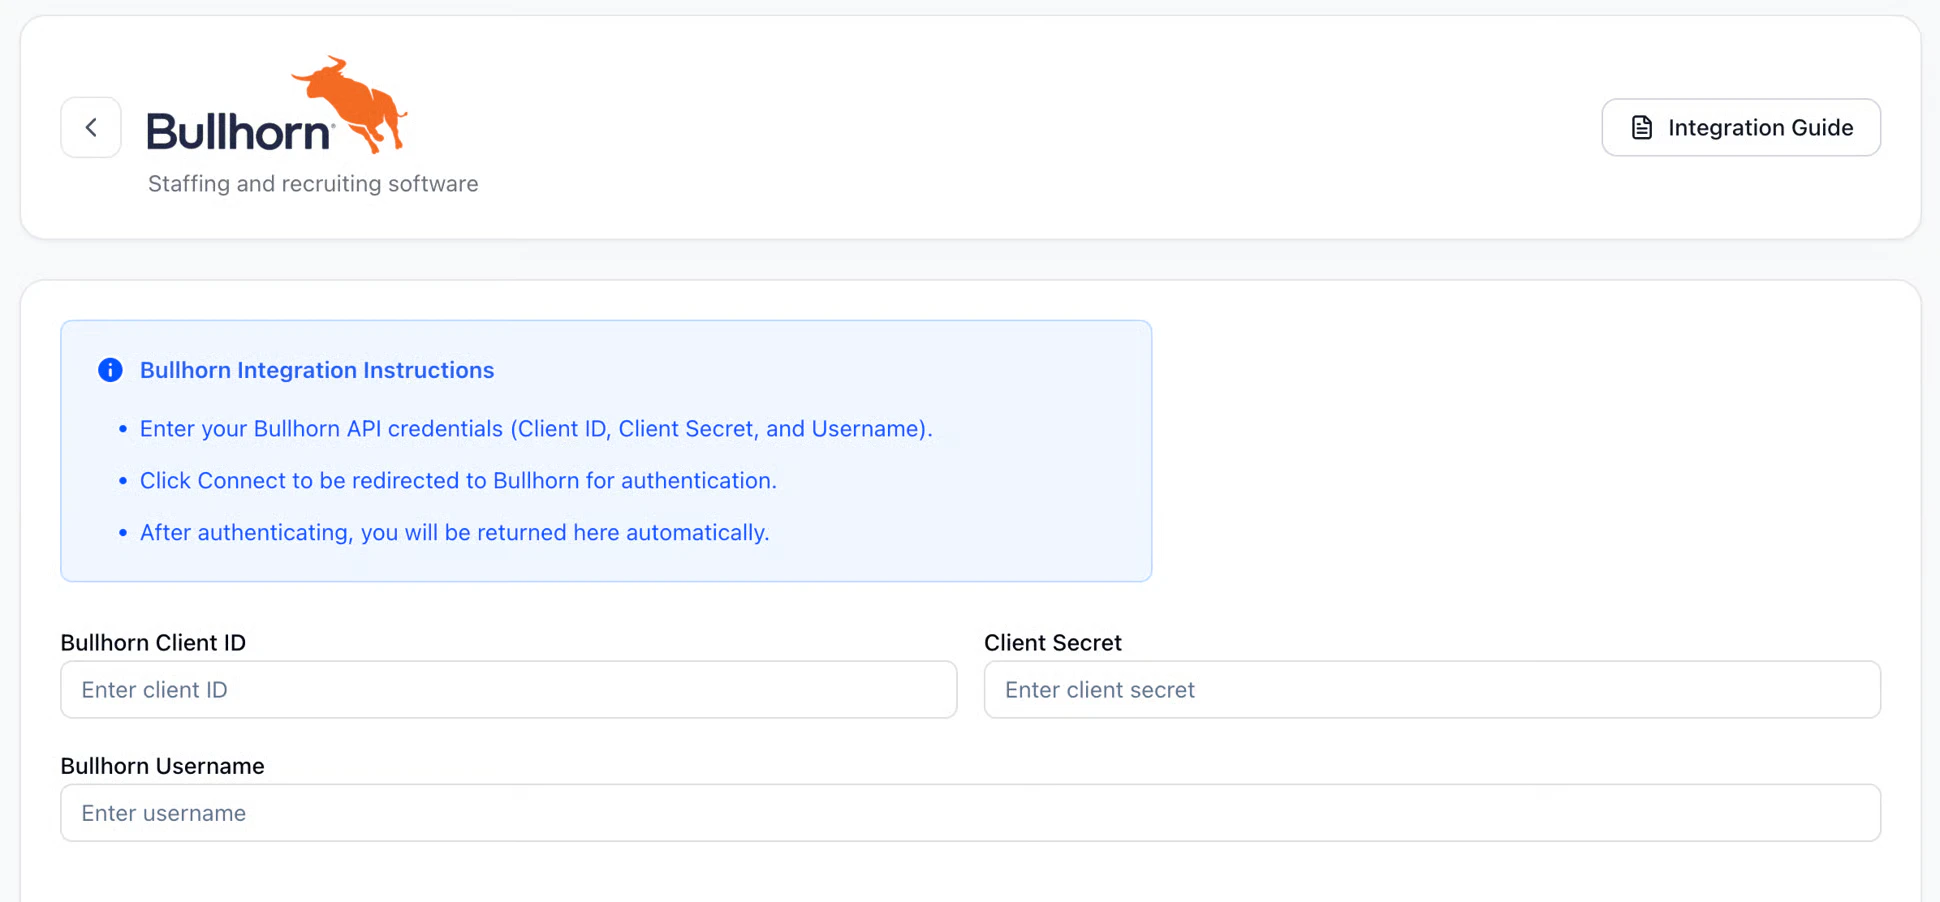
- Client ID
- Client Secret
- API Username
- Enter a lower value (e.g., 5) to fetch new applicants more frequently.
- Use a higher value (e.g., 1440) if real-time syncing is not critical.
4
Click Connect and log into Bullhorn
Click Connect. You will be redirected to the Bullhorn login page.After logging in and approving access, you will be automatically redirected back to HeyMilo. The integration is now connected.
Create a Screening Agent
1
Log in to HeyMilo Admin (https://admin.heymilo.ai)
2
Click the Create Interviewer button to create a screening agent
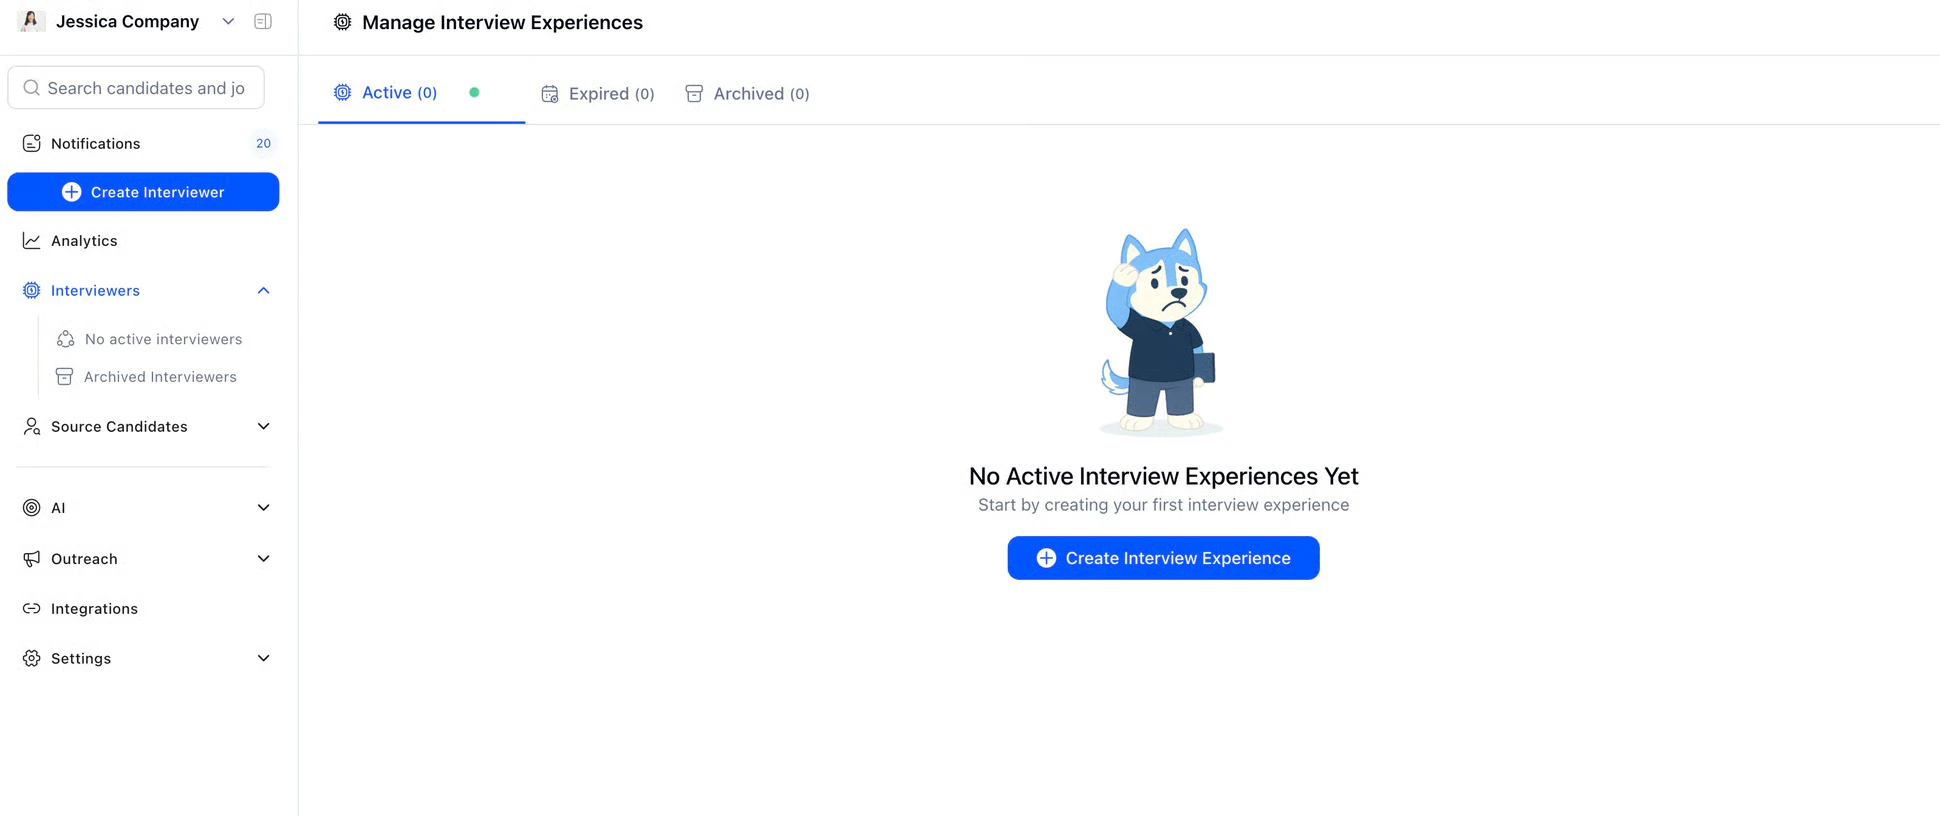
3
Fill in the necessary configurations and complete the setup flow
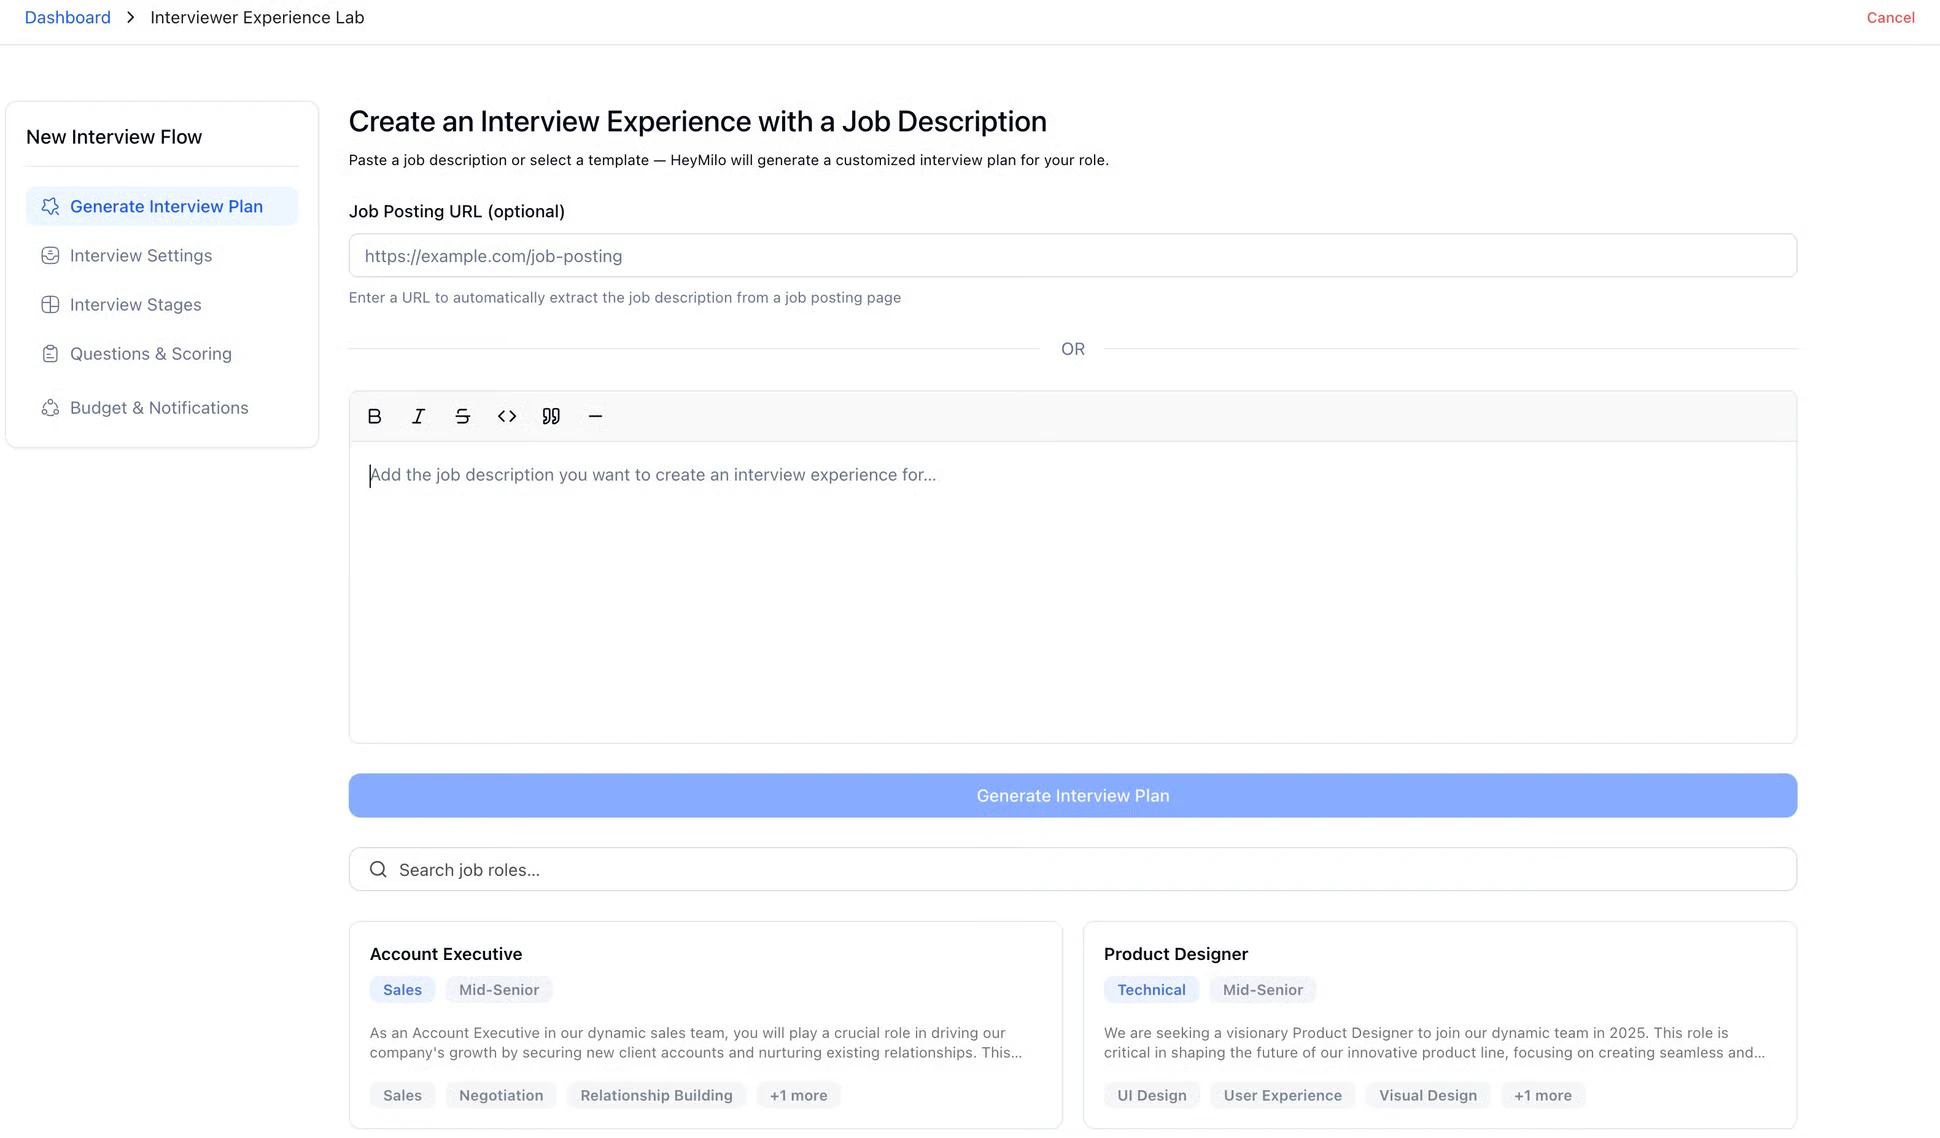
Mapping HeyMilo Agents to Bullhorn Jobs
You can map bullhorn jobs with HeyMilo agent using our agent-ats mapping feature.1
From your active agent, select Integrations from the actions menu
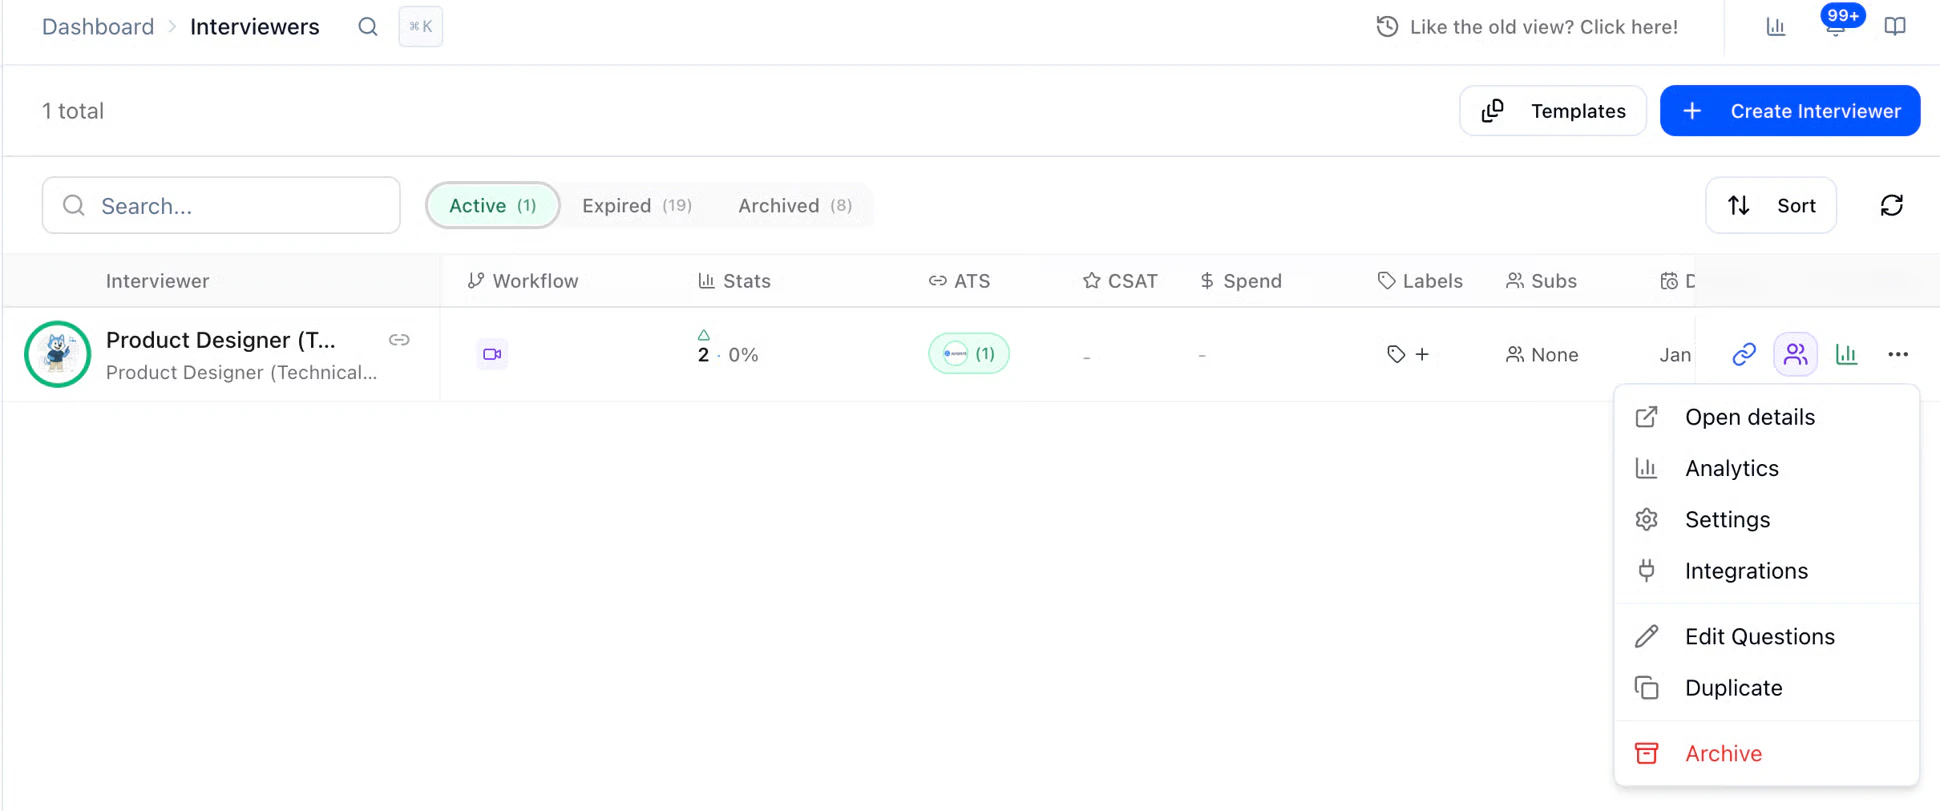
2
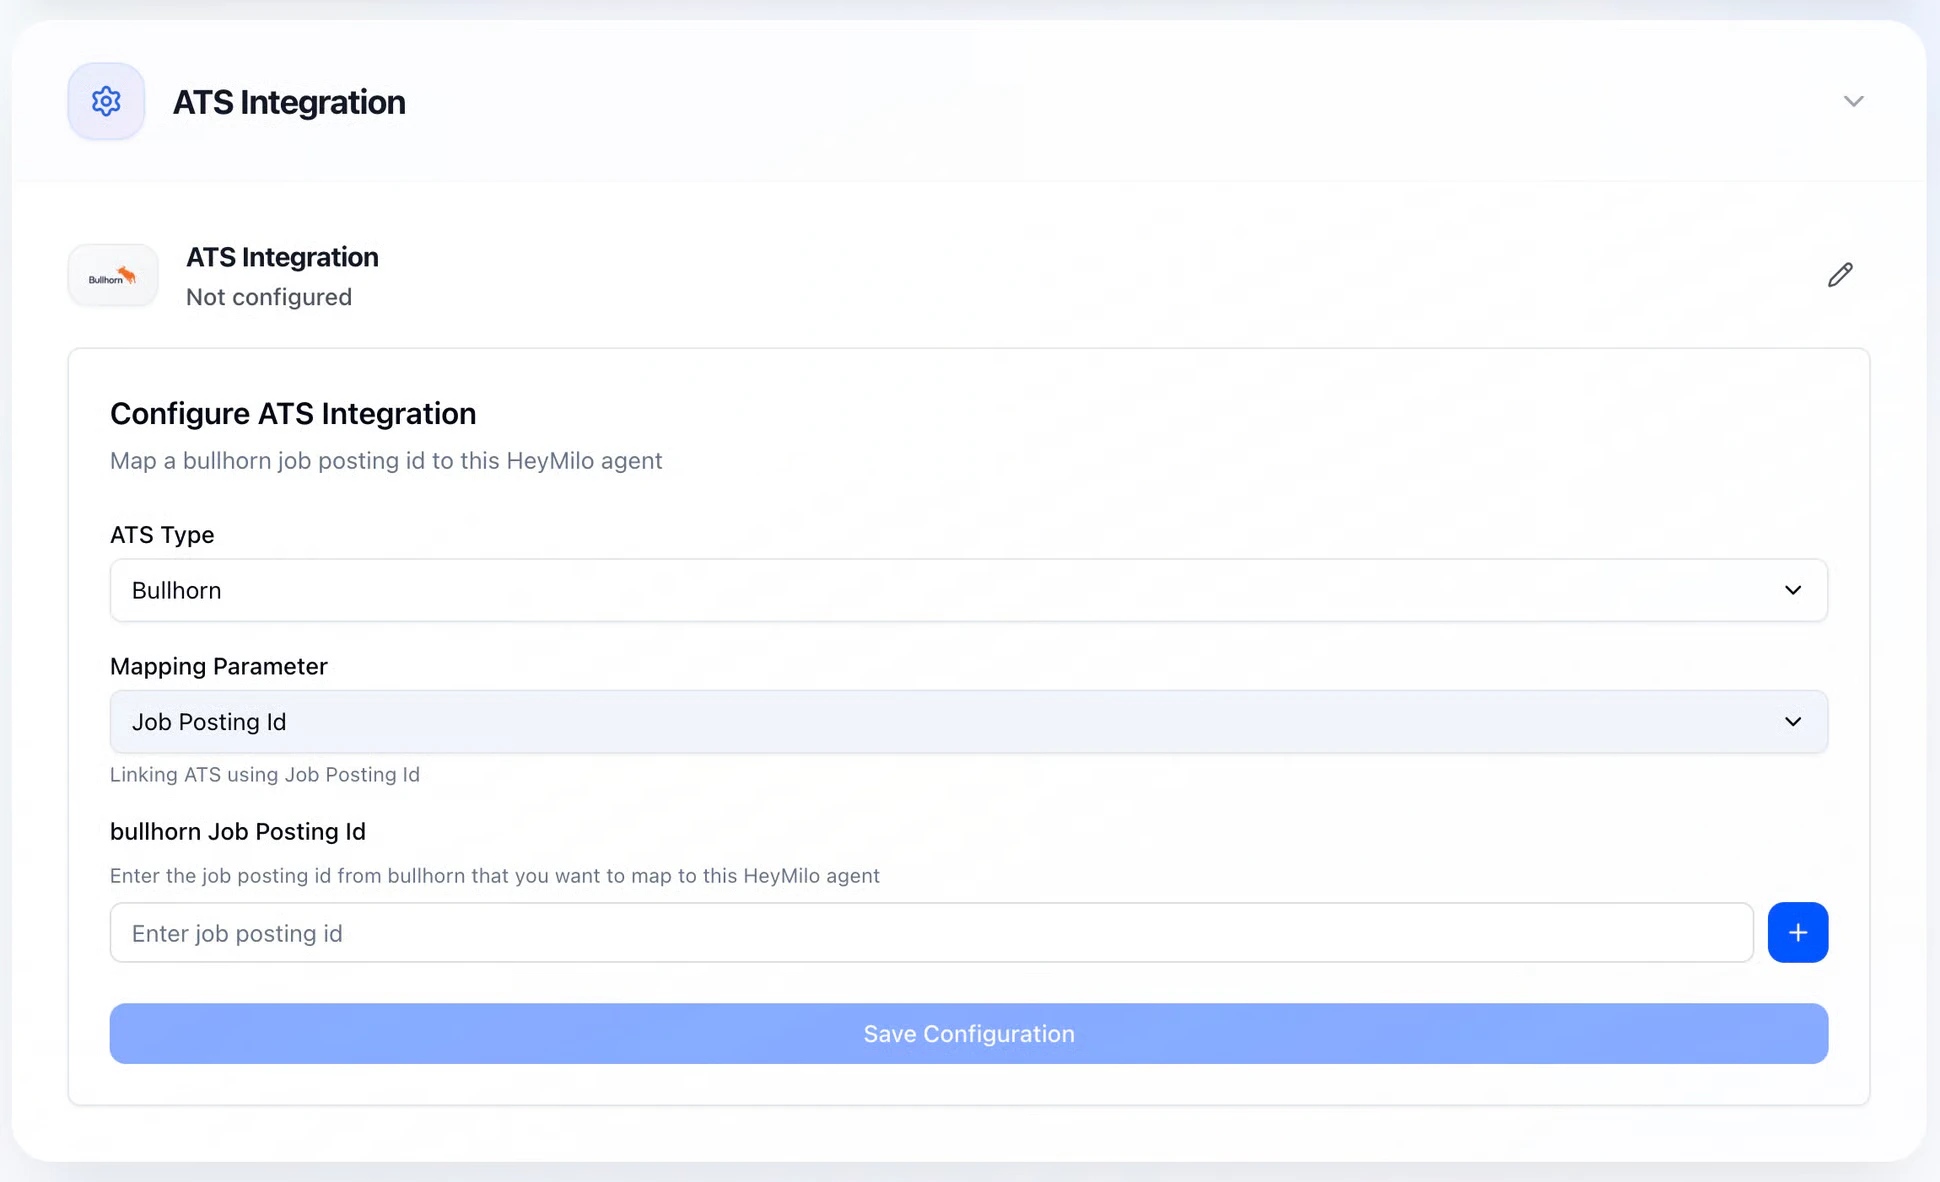
Scroll to ATS Integrations section
3
Select Bullhorn as your ATS Type
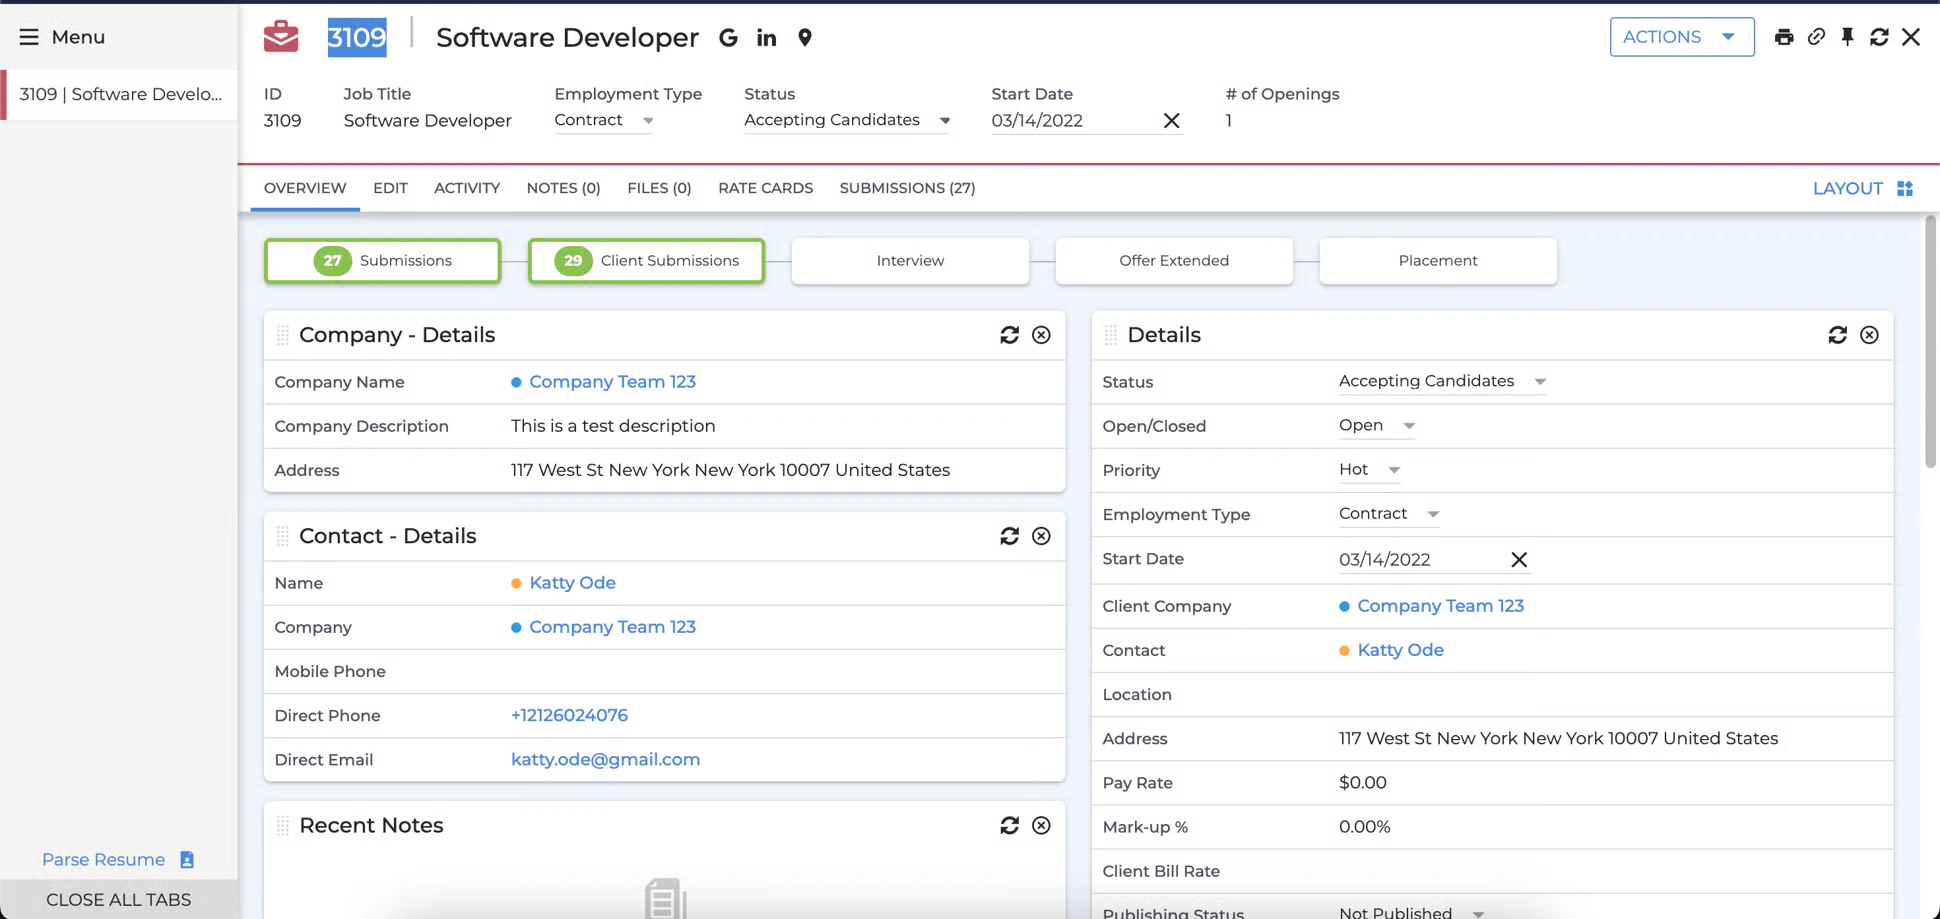
- Select Job Posting ID as a Mapping Parameter, and paste your Bullhorn Job ID from the Bullhorn portal here.
4
Next, click add and Save the configuration. Once Mapping is added you will get a success toast!
Automatic Candidate Sync
Candidates added to mapped Bullhorn jobs will be ingested into HeyMilo at the configured polling interval. Each candidate will receive an interview invitation email automatically.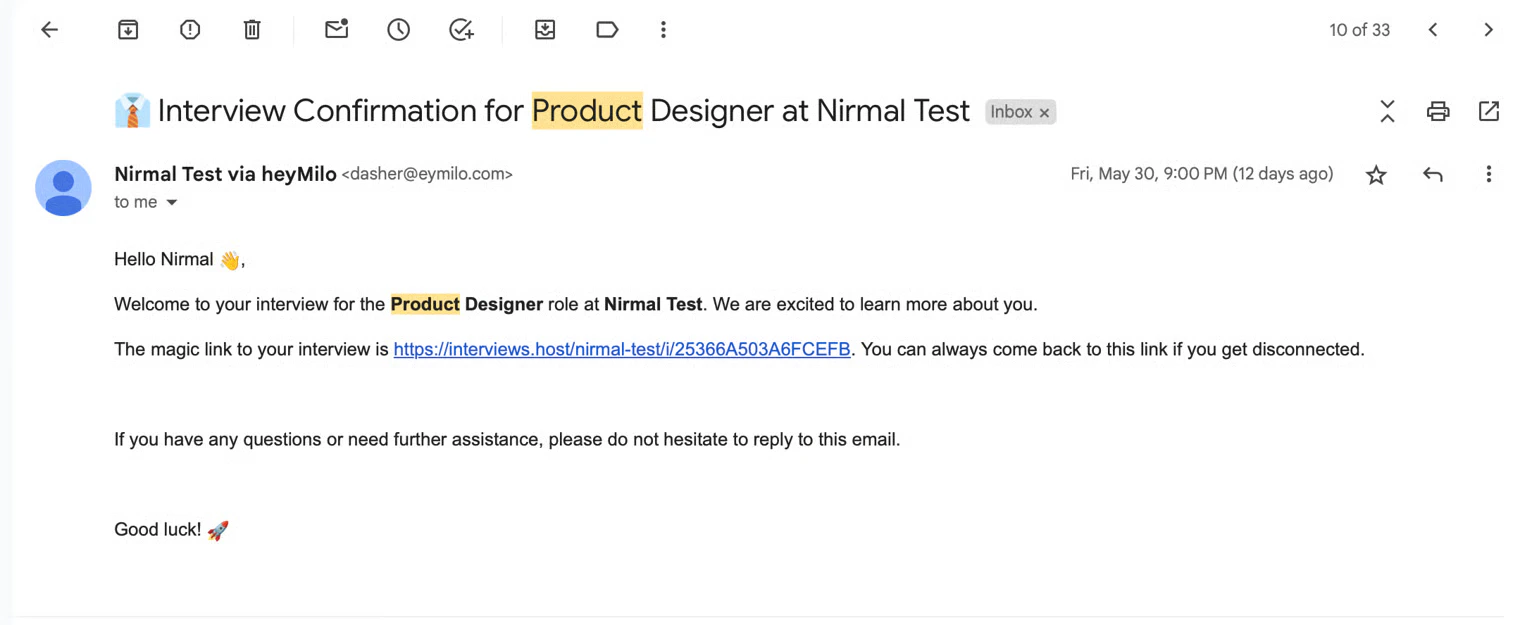
Results & Feedback in Bullhorn
When the interview is finished, HeyMilo generates a structured report—complete with transcripts, AI summaries, and scores—and adds it to the candidate’s Notes in Bullhorn.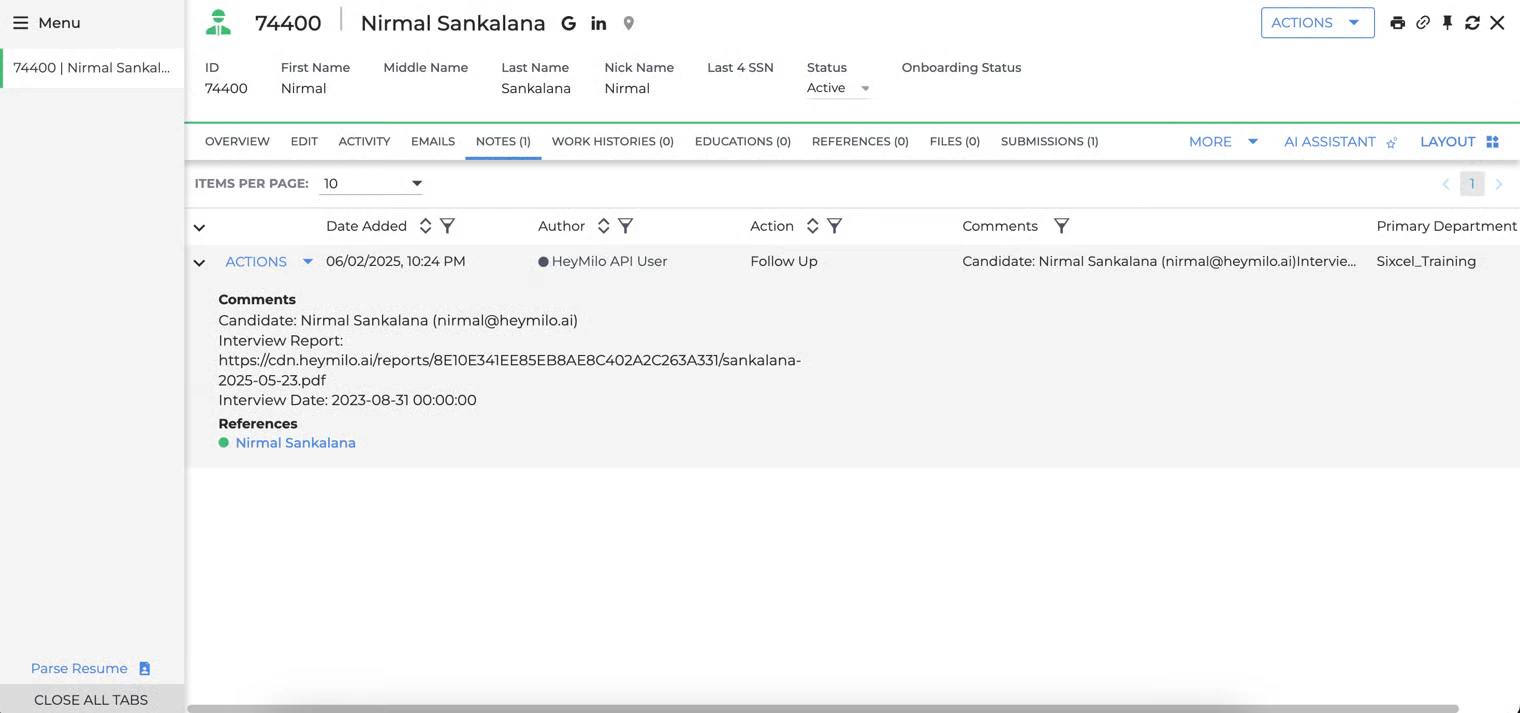
Option 2 (Fastest): 📥 Import Jobs from Bullhorn (Auto-Create Agents)
Skip the manual setup. You can import jobs directly from Bullhorn and HeyMilo will automatically create an agent for each one — ready to start screening as soon as candidates apply. Where to find it: HeyMilo → Integrations → Import from ATS