

What you see when you open the dashboard

- Search: Looking for a specific candidate or role? Type their name here instead of opening each interviewer. Searches across your whole workspace.
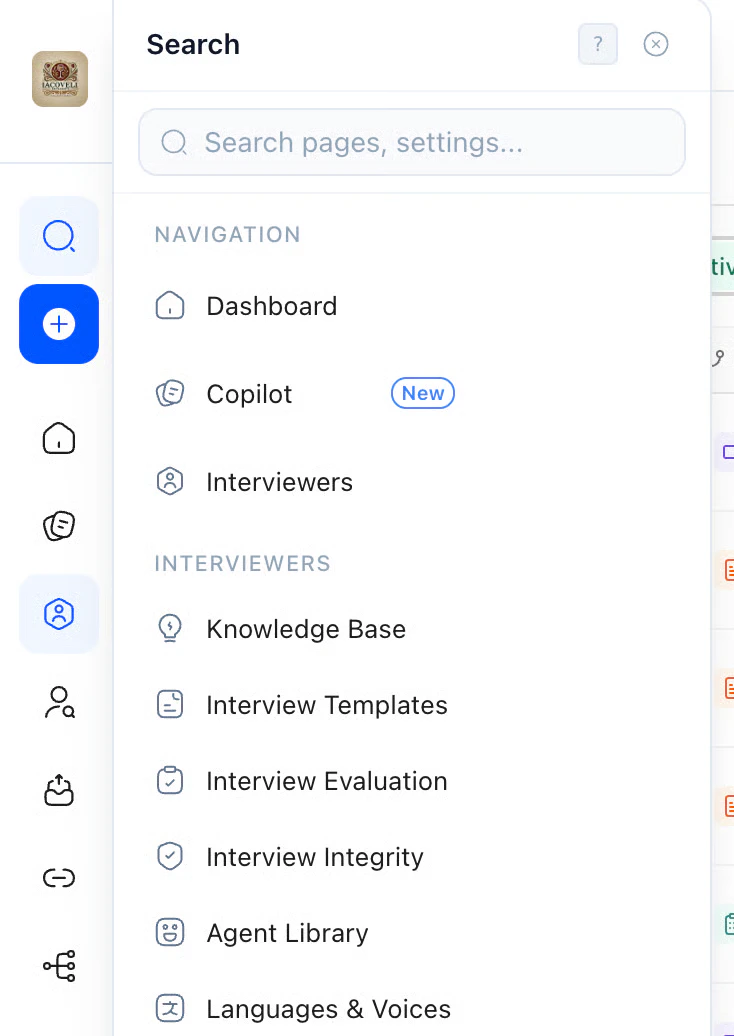
- Create Interviewer: Ready to launch a new role? Same flow as Create Interviewer.
- Analytics: When you want the big picture: how many candidates, how many interviews, spend over time. See Analytics (global vs per role) on this page.
- Credits: How much you’ve used vs what’s left. View Current Subscription when you need to manage your plan.
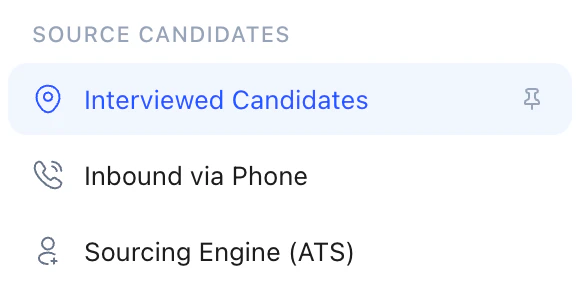
Source Candidates — Interviewed Candidates, Inbound via Phone, Sourcing Engine (ATS).
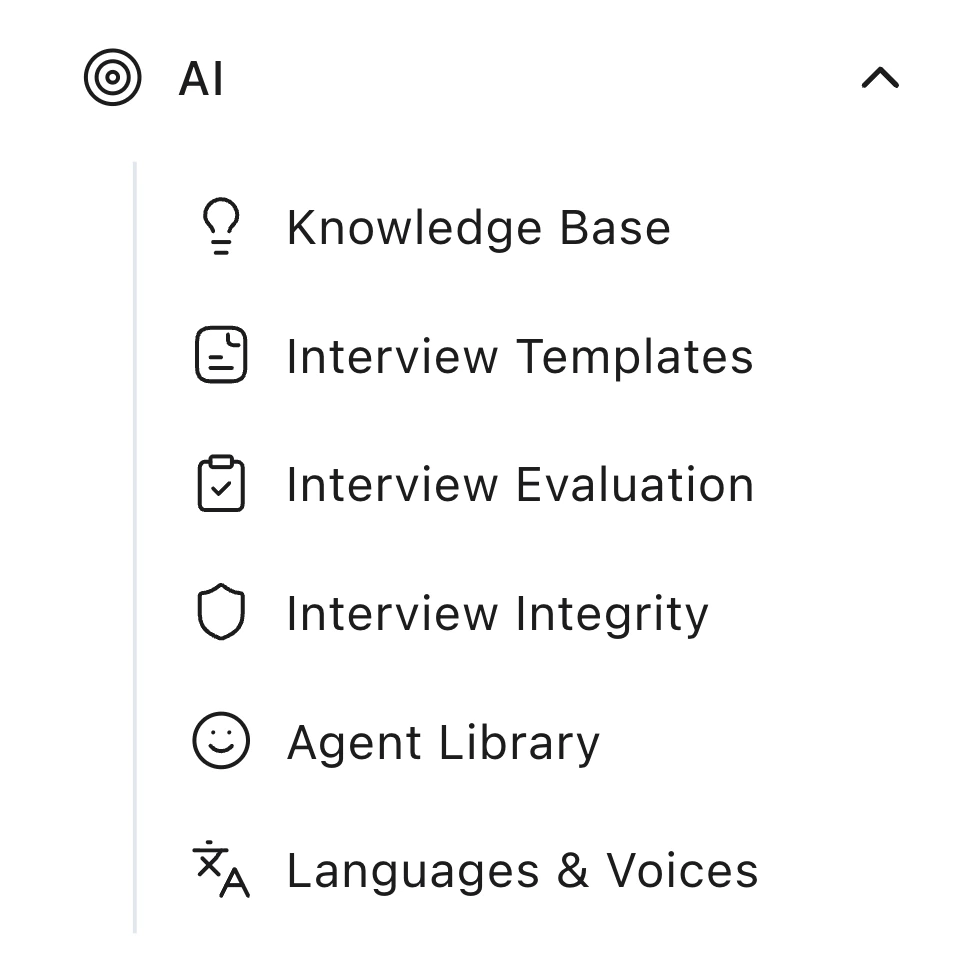
AI — Knowledge Base, Interview Templates, Evaluation, Integrity, Agent Library, Languages & Voices.
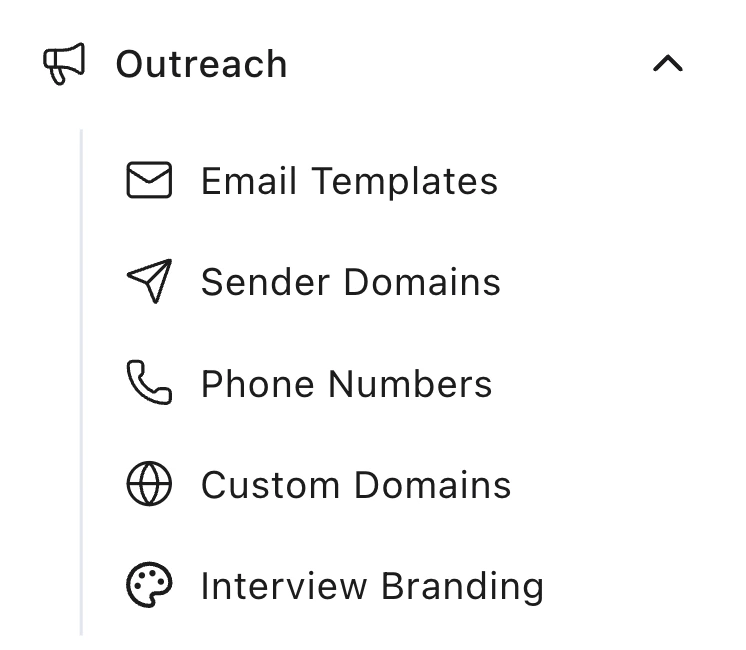
Outreach — Email Templates, Sender Domains, Phone Numbers, Custom Domains, Interview Branding.
The Interviewers table (main area)
The big table in the center is all your interviewers (roles). This is where you’ll spend most of your time. Typical flow: Stay on Active (so you only see live roles) → find the role you’re hiring for → click the row to open it. You’ll land on that interviewer’s Candidates tab, where you can review scores, shortlist, dismiss, or send to ATS. If you’re not sure which role to open, check Notifications first — it’ll show you who just completed. Filters and controls- Active / Expired / Archived: Tabs show counts (e.g. Active (15), Expired (219), Archived (63)). Start with Active for day-to-day work.
- Search: Type an interviewer name to narrow the list.
- Sort: Change sort order (e.g. most recent, most candidates).
- Templates / Create Interviewer (above the table): Add a new interviewer or start from a template.
What to do from here
- Set an internal name: From the Interviewer column, open Internal name to set a label your team sees on the dashboard (not shown to candidates). Leave it empty to use the public Position Title instead.
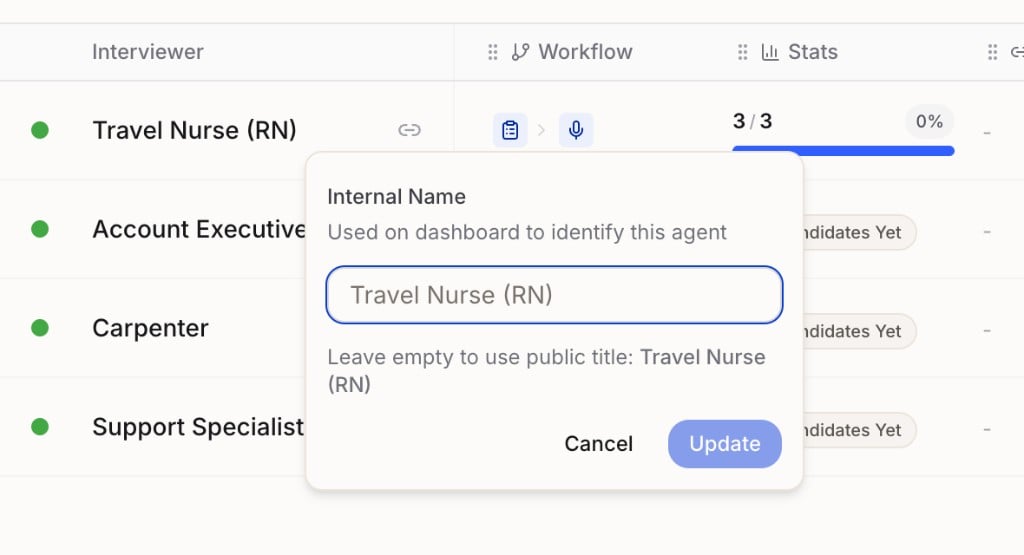
Internal name — used on the dashboard to identify this agent.
- Open a row: Click an interviewer to see its candidates, run actions (Shortlist, Dismiss, Send to ATS), and check score reports. See Reviewing Candidates.
- Check completion %: Low % often means the interview is too long or the invite isn’t clear. See Inviting Candidates & Driving Completion.
- Watch deadlines: Interviewers with “X days left” will stop accepting new candidates when they expire. Extend or duplicate if you still need the role.
When you’re inside an interviewer (Candidates tab)
Once you click an interviewer, you land on the Candidates tab. Use the filter bar to narrow the list: All Candidates, Resume Agent, Web Interview (or Voice), Status, Notes. For example, click Status to see only shortlisted or dismissed candidates, or Web Interview to see who’s done that stage.
Filter candidates by stage, status, and notes.
Notifications
Why check here: The bell updates fast, with browser push and a sound for new items. Click a notification to open that candidate. Mark all as read when you’re done. To change who gets alerts (for example email subscribers on an interviewer), use Notifications in Settings & Admin.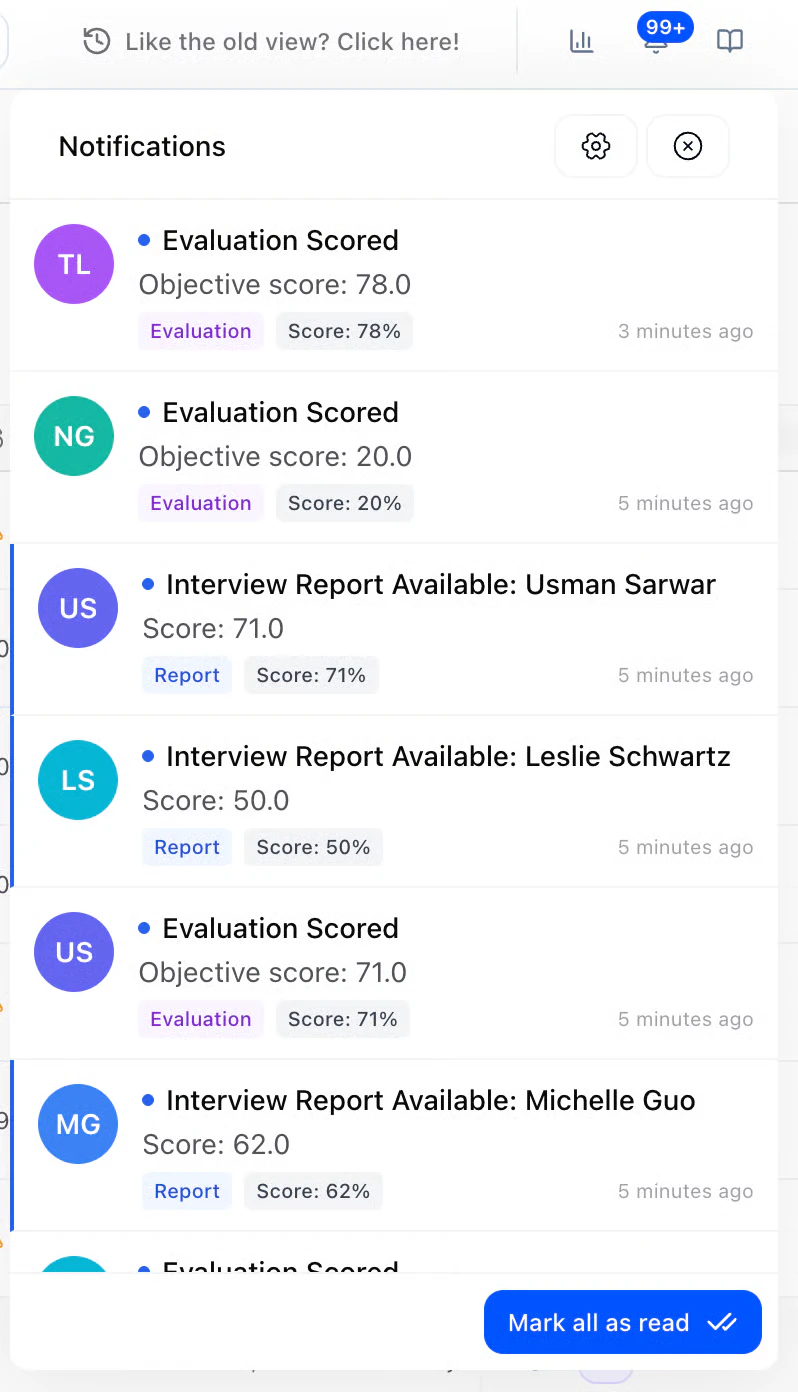
Analytics (global vs per role)
When to use which: Use global analytics when you want the big picture (how many candidates, how much spend). Use per-agent analytics when one role isn’t converting and you need to see where candidates drop off so you can fix that step. Global analytics: Click Dashboard or Analytics. You’ll see summary stats (e.g. 27 candidates, 14 interviews), a candidate feed (recent completions with scores), and charts for Interview Activity and Spend Over Time. Use All Agents and date range to narrow it down.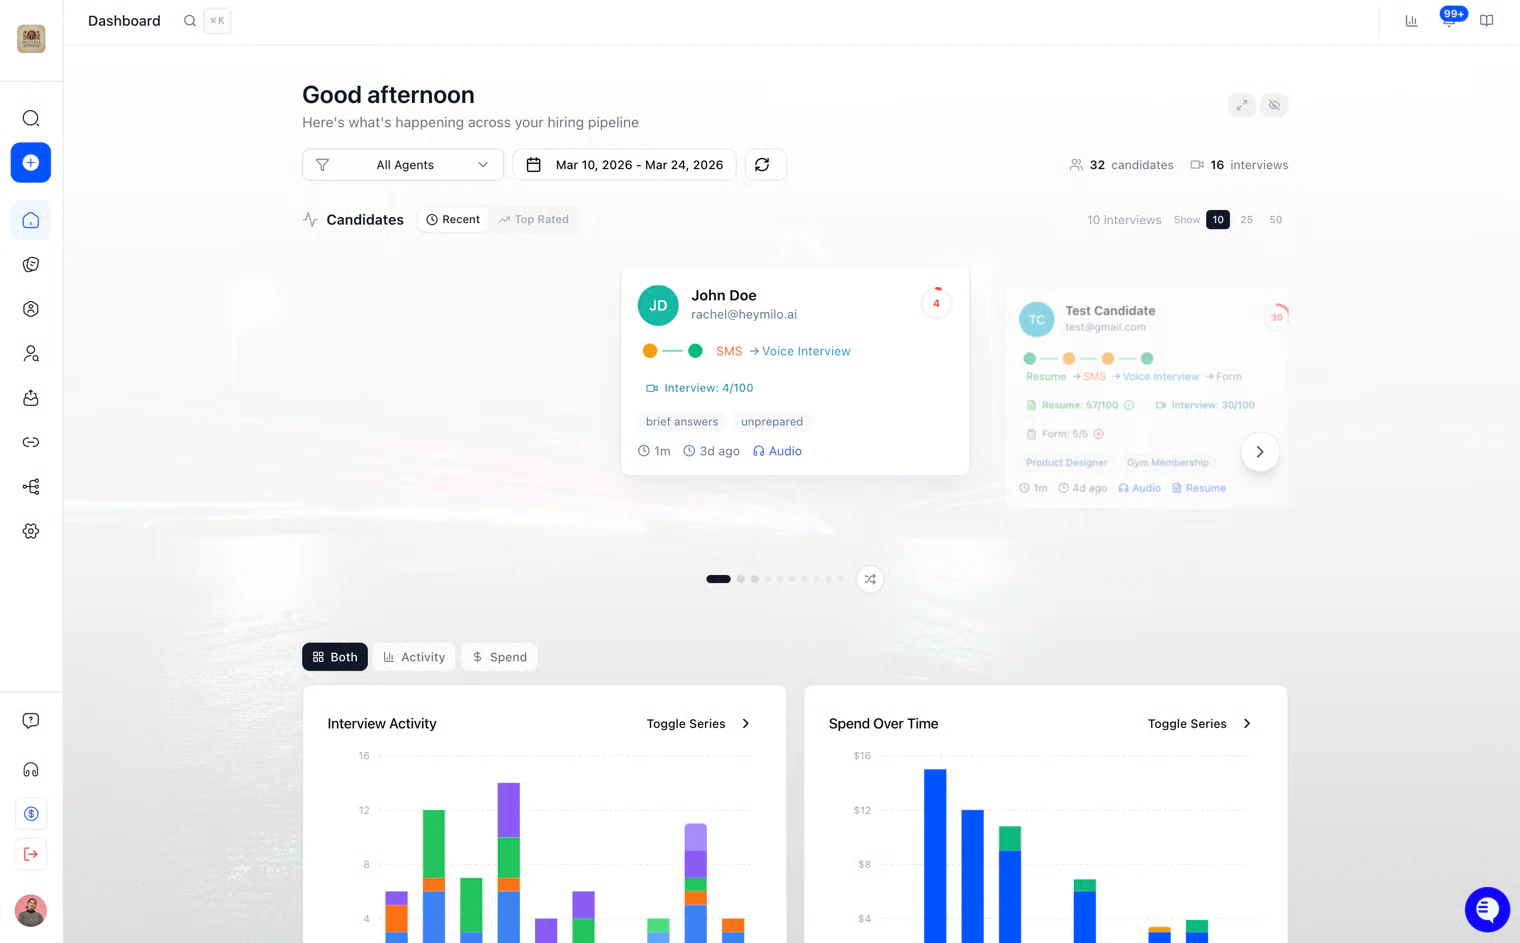
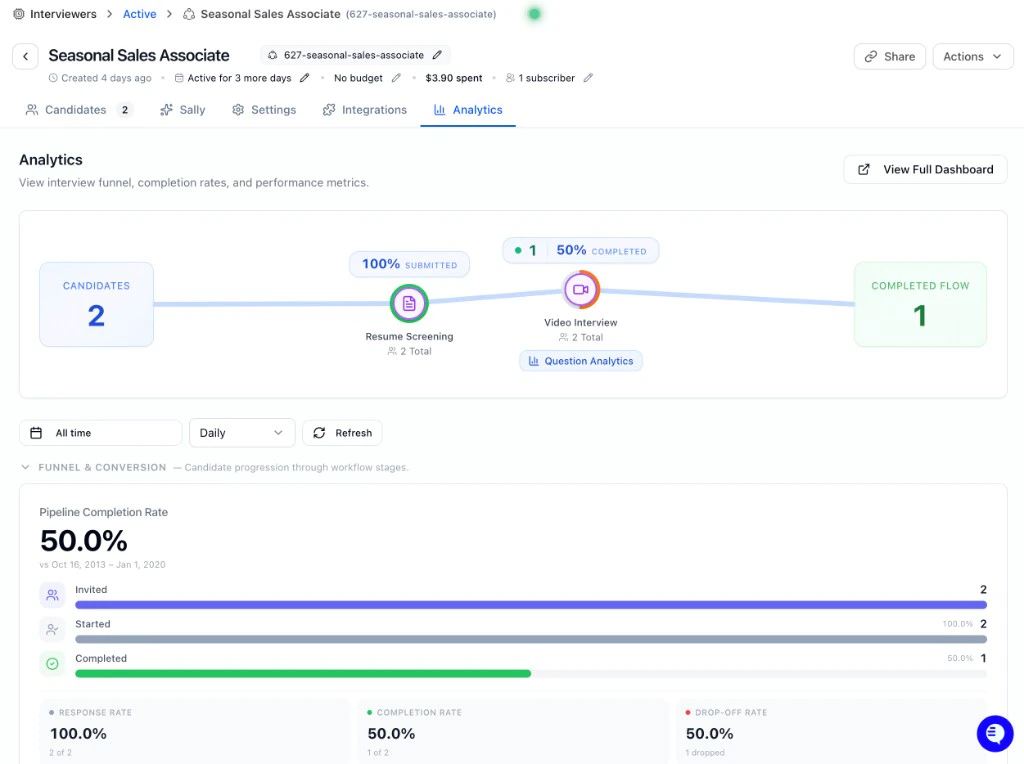
Per-agent Analytics — funnel, pipeline completion rate, and conversion metrics for one interviewer.
Integrations, Data, and Settings
You don’t need these every day. Use them when you have a specific task (connect ATS, tag roles, add a teammate, or get help). Integrations: You’re connecting your ATS or (for developers) building something with our API. Sidebar → Integrations → ATS Integrations or API Keys.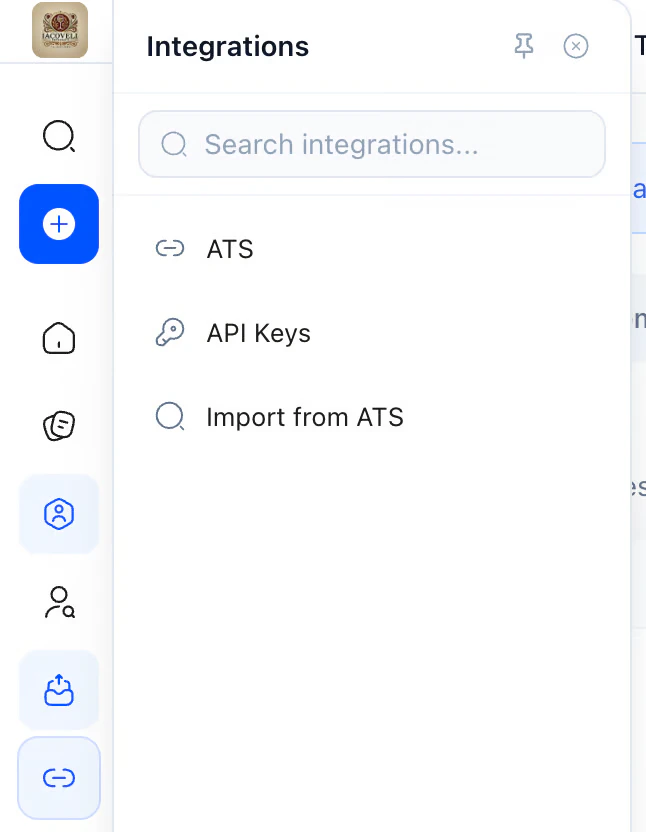
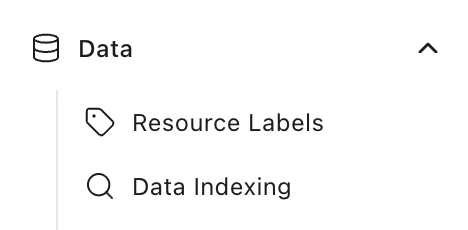
Data — Resource Labels, Data Indexing.
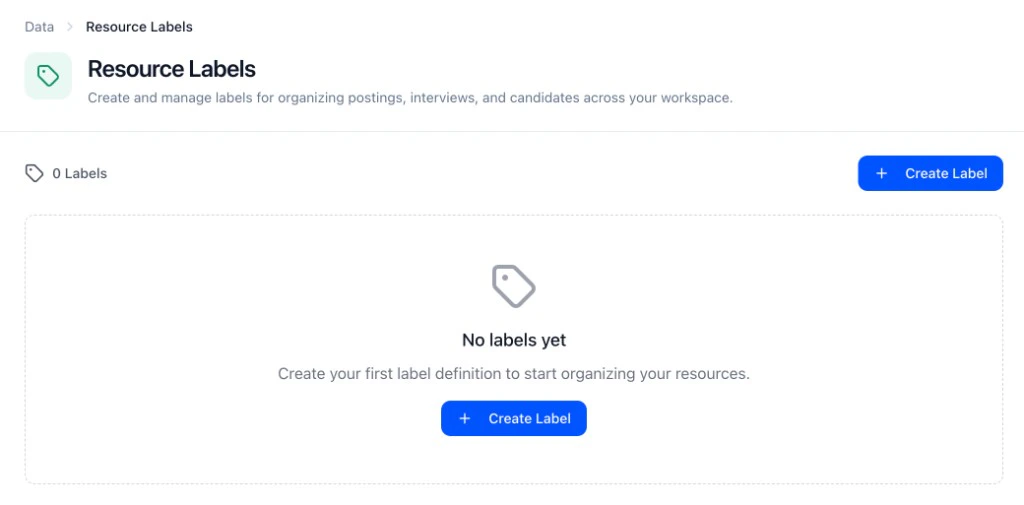
Resource Labels — create and manage labels for organizing interviewers.
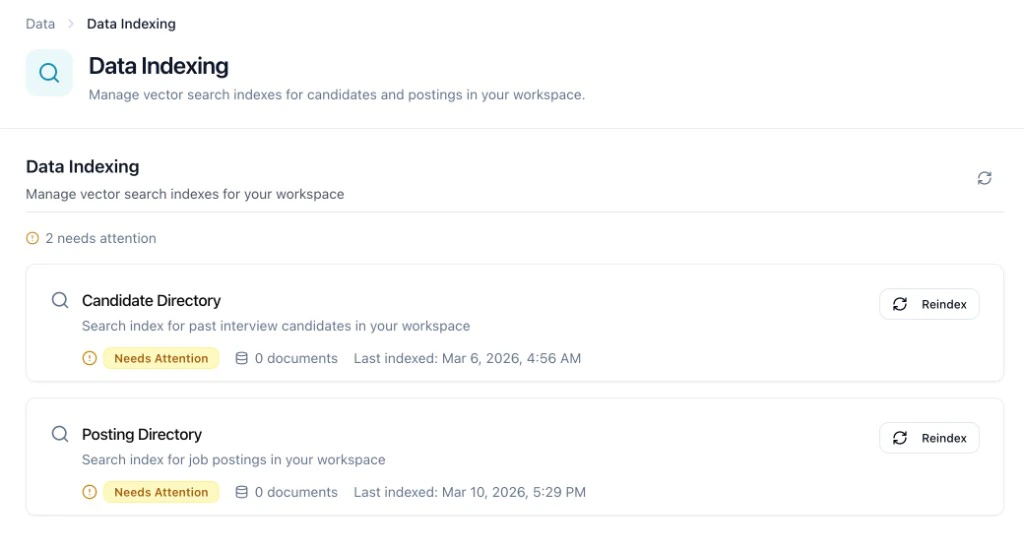
Data Indexing — use Reindex if search isn’t returning candidates or postings.
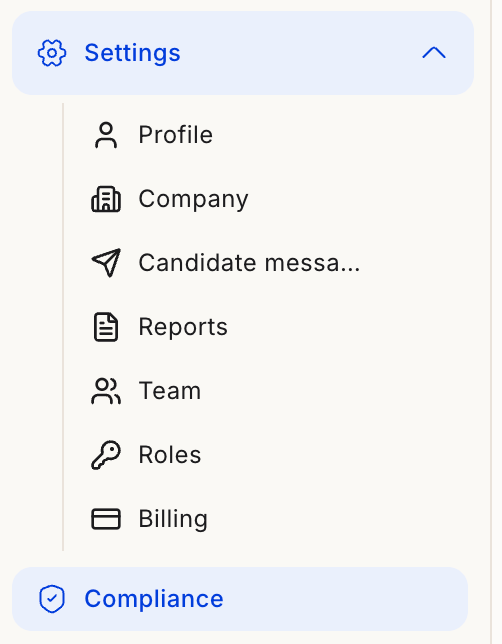
Settings menu in the sidebar, with Compliance as its own item below.
Next steps
- Reviewing Candidates — Open an interviewer and review score reports
- Create Interviewer — Add a new role
- Analytics (global vs per role) — Funnels, scores, and trends
- Inviting Candidates & Driving Completion — Improve completion rates