

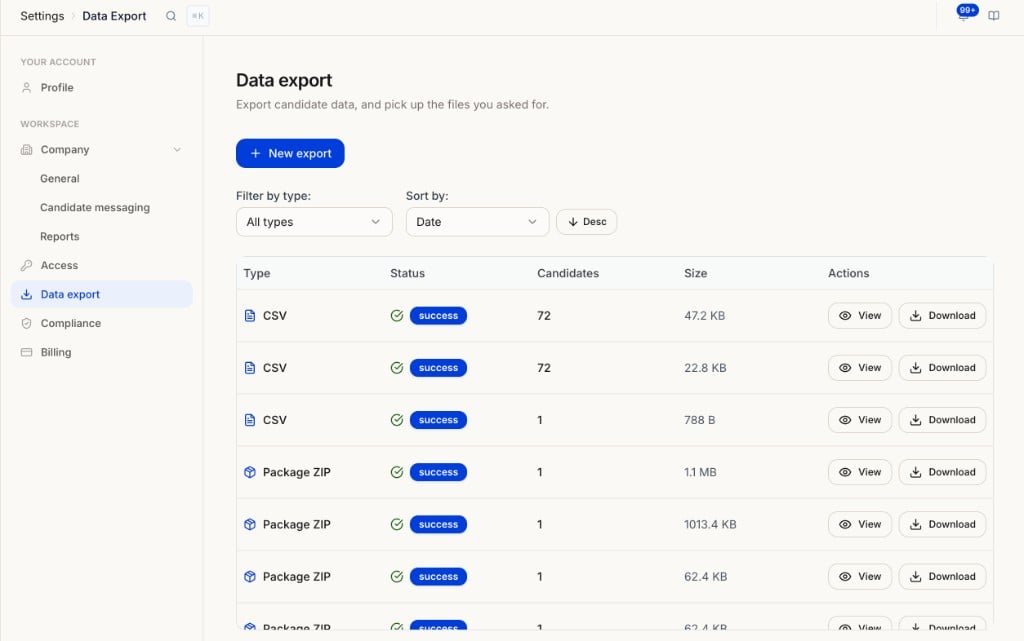
Exporting a few candidates from one posting? Select them on the candidate list and click Download instead. See Reviewing Candidates.
Start a new export
Click + New export to build a custom export across one or more postings or the whole workspace.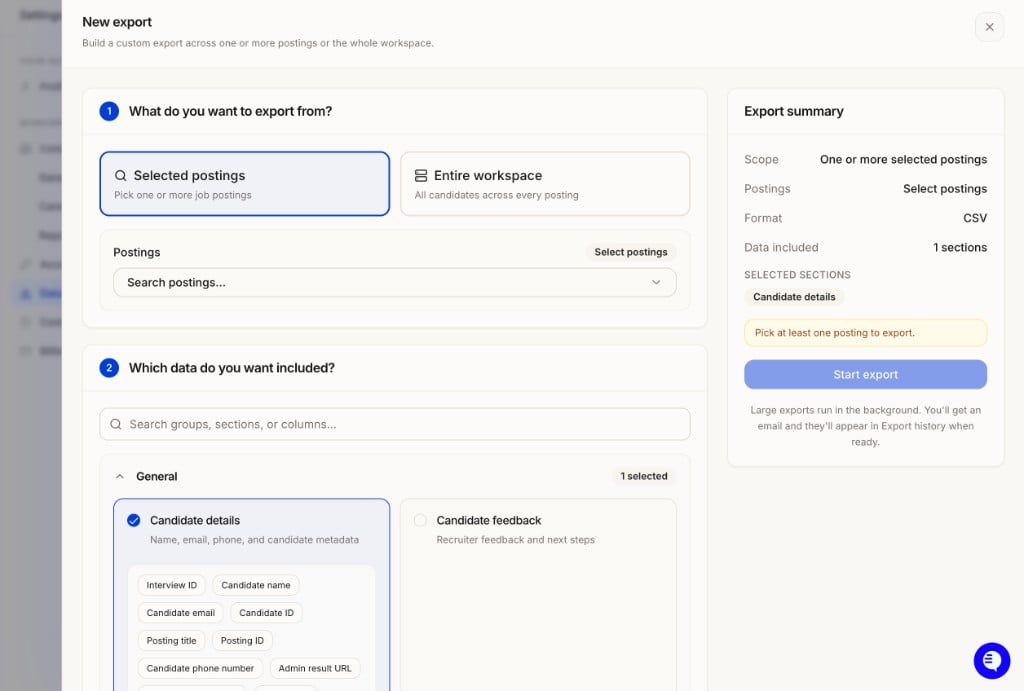
1
What do you want to export from?
Selected postings (pick one or more) or Entire workspace (all candidates across every posting).
2
Which data do you want included?
Search or browse sections, grouped by agent type (General, Voice agent, SMS agent, Resume agent, Form agent, Diagnostics & integrity). Each section lists the columns it adds.
3
Check the Export summary
The panel on the right shows scope, format, and selected sections. Fix anything it flags (for example, no postings picked yet).
4
Start export
Large exports run in the background. You get an email when the file is ready, and it appears in the list on this page.
Export history
The table lists every export from your workspace.
Use Filter by type to show one format and Sort by date, ascending or descending.
Related pages
- Workspace Exports & Custom Reporting: the full guide, including section picks and AI reporting prompts
- Compliance: retention settings and deletion requests
- Reviewing Candidates: per-candidate downloads