

Why use labels
When you have many postings and candidates, labels keep everything organized:- Filter by department: Tag postings/candidates by department (Engineering, Sales, Support)
- Track hiring stage: Capture where someone is in your process
- Organize by location: Office, region, or remote vs on-site
- Custom categories: Any dimension your team agrees on (priority, business unit, etc.)
Creating a label definition
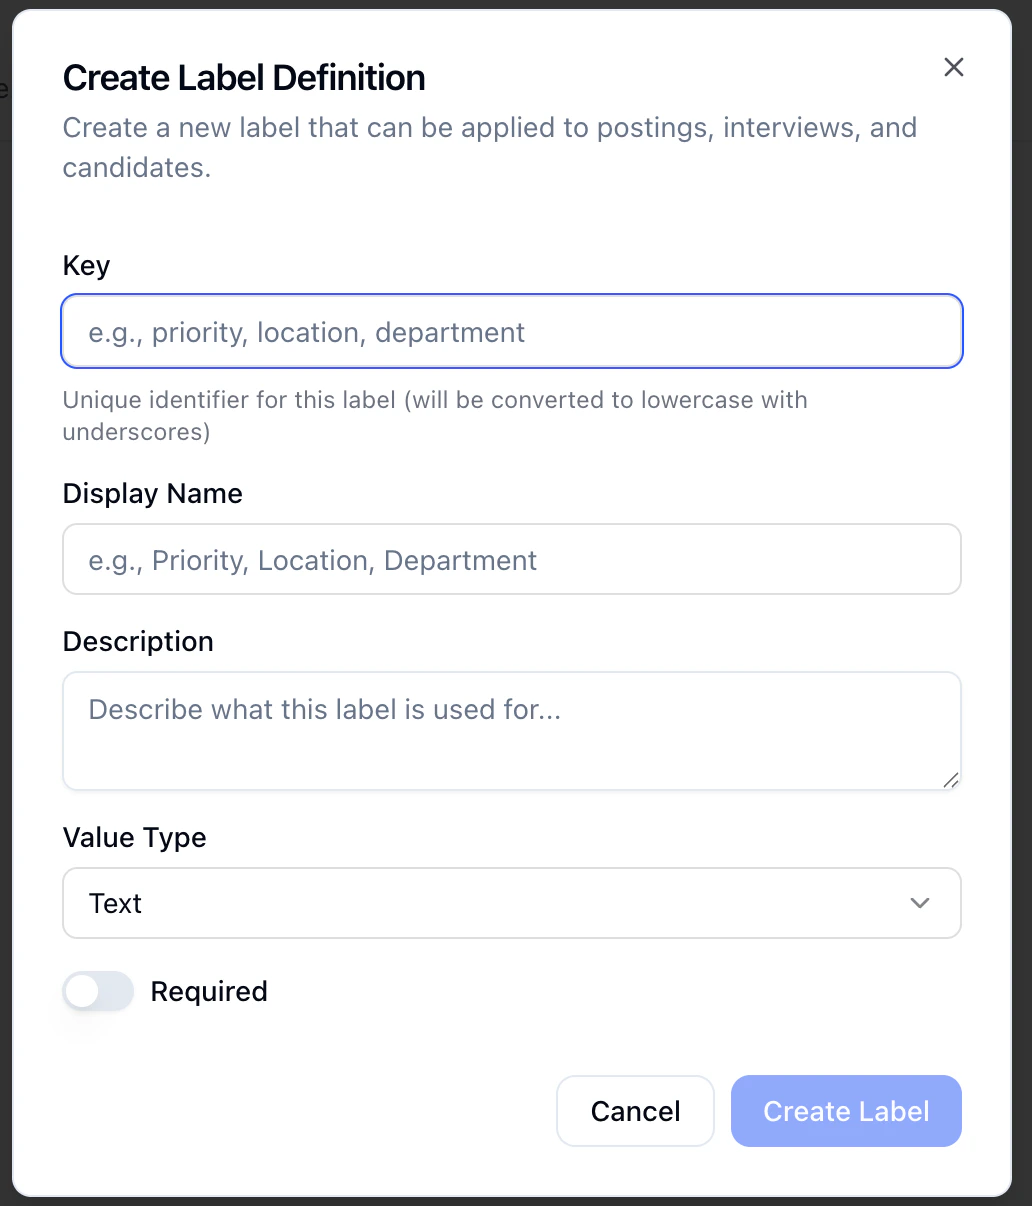
- Go to Data → Resource Labels in the sidebar
- Open Create Label Definition
Click Create Label to save, or Cancel to close without saving.
Applying labels
Once a label definition is created, you can apply it directly from your Interviewers list.
- Go to Interviewers in the sidebar
- Find the posting you want to tag
- Click the tag icon in the Labels column
- Select the label, choose a value, and click Apply
Don’t see the Labels column? Click Columns in the top right of your Interviewers list and make sure Labels is toggled on.
Tips: Keep keys stable; use Display Name for wording changes. Prefer a small set of labels so the team actually uses them.
Next steps
- Interview Tags — AI-extracted tags on voice/video reports
- Data Indexing — How data is indexed and searchable
- Your Dashboard — Filtering and overview